
News
stencil guide
How Do Tattoo Artists Keep Transfer Stencils From Smudging During a Session?
Keep your stencil on skin through the whole session with four things: a clean, dry skin surface before transfer, a thin layer of the right transfer medium, 10–15 minutes of real drying time, and a wiping discipline that moves ink away from the lines you haven't tattooed yet. Alcohol-based wipes and wet, scrubbing wipes are what kill most stencils mid-session — not the stencil itself.
Why Stencils Smudge: What Actually Fails
A transfer stencil is not a tattoo. The design sits on the skin, held by a thin layer of hectograph dye bonded with your transfer medium. Three things dissolve or lift that bond mid-session:
Solvents. Alcohol re-solubilizes stencil dye fast. That is why an alcohol wipe erases a stencil in seconds — and why green soap used straight, at full strength, softens it over a few wipes.
Moisture plus friction. Wet wiping with pressure re-hydrates the dye layer and drags it across the skin. Light passes with a damp towel are fine; soaked scrubbing is not.
Heat. The dye responds to body heat. Rest your working hand on the stencil for long stretches and you will rub dye off the client and onto yourself. Seasoned artists learn to anchor on areas they have already finished.
Every prevention technique in this article comes down to one idea: bond the dye firmly once, then do as little chemical and mechanical violence to it as possible until the session is done.
Step 1 — Prep the Skin Right
A stencil can only hold as well as the surface it is stuck to. Skin oil, lotion residue, and fine hair all sit between the dye and the skin:
Shave the area, even when you think there is barely any hair. Hair wicks the transfer medium away from the skin and gives the dye something soft to peel off with.
Clean, then let it actually dry. Alcohol or green soap to strip the oils — then wait until the skin is fully dry to the touch, and let any alcohol fully flash off (about 30–60 seconds) before the transfer medium goes on. Residual alcohol sitting under the gel breaks the bond you are trying to build.
Don't moisturize before transferring. Save the balm and the vaseline barrier for after the stencil has dried.
Step 2 — Gel vs Stick vs Speed Stick: The Transfer Medium Decides a Lot
The transfer medium is the glue. What you put between skin and paper decides how firmly the dye bonds and how much punishment it survives. Three categories dominate:
Medium
Bond strength
Forgiveness
Best for
Professional stencil gel (e.g. INKSOUL Transfer Gel)
Strongest
Even layer, dries predictably
Long sessions, detail work, artists who wipe a lot
Stick applicators (glue-stick style stencil sticks)
Good
Easy to over-apply
Quick small pieces, travel setups
Speed Stick / roll-on deodorant (the DIY classic)
Moderate
Uneven on large areas
Budget stopgap, practice skin only
Two rules hold for every medium: thin wins. A thin, even layer bonds; a thick layer stays tacky and the dye floats off in it. And let the medium reach tacky — not wet, not dry — before you press the paper down. That tacky window is where the dye grabs best.
Honest note on Speed Stick: it works, and half the industry learned on it. But it was engineered for underarms, not for holding a fineline mandala through a four-hour session — and stick deodorants aren't made to professional skin-product standards, so keep it a stopgap on real skin. If your stencils keep failing, upgrading to a purpose-made gel like our INKSOUL Transfer Gel (4 fl oz / 120 ml, rated for long sessions and repeated green-soap wiping) is the cheapest variable to fix first.
Step 3 — Drying Time: Stop Tattooing on Wet Stencils
The number everyone argues about. Sources honestly disagree — apprenticeship flashcards say 5–10 minutes, tattooing101 and Neebol say 10–15, Joker Tattoo says 15–20 — so here is the condition-based answer that actually works:
Minimum 10 minutes before you touch needle to skin, with a fan helping if the room is humid.
Add time for large areas. A full sleeve back piece pressed on in one go holds moisture under the paper longer than a wrist piece. Give it 15–20.
The fingertip test. Touch an unimportant corner of the design — if your fingertip comes away with any purple/blue on it, it is not dry yet.
Starting early costs you three times: the stencil smudges under your first wipe, the edges bleed, and you end up freehanding lines you already paid to place. The waiting is the work.
Step 4 — The Wiping Discipline That Saves Stencils
This is the step nobody writes down in manuals, and it is the one that separates artists whose stencils last eight hours from artists who re-apply at hour three:
Wipe away from the untattooed stencil. Always wipe from finished areas toward finished areas. You cannot smudge what you have already tattooed — but one wipe dragging ink onto your untouched lines, followed by a cleanup wipe, erases the stencil along with the ink.
Work direction matters. Right-handed artists work bottom-right to top-left; left-handed, the mirror. Plan it so your hand never rests on tomorrow's lines.
Distilled water or heavily diluted green soap. This combination removes ink and blood while doing far less damage to the stencil than full-strength green soap. No alcohol-based wipes at this stage — alcohol is the fastest stencil killer there is.
Lay down a vaseline barrier once the stencil is dry. A thin layer over the whole design keeps excess machine ink from soaking into the skin around the stencil, so wipes clean it off instead of staining through your lines.
For outlines, consider dry wipes. Switching to a dry paper towel while doing linework keeps every line crisp. It is slightly less comfortable for the client, but they will take a bit of dry wiping over a re-applied stencil any day.
One more trick from the artist community: a lint roller pressed lightly over a freshly applied stencil picks up excess dye sitting loose on the skin without disturbing the bonded lines underneath. It sounds odd; it works — and it is exactly the kind of thing you only learn standing behind someone else's chair.
Step 5 — When It Still Won't Stay: Diagnose the Source
If you did everything above and the stencil still fails, the problem is upstream. Run this quick symptom check:
Symptom
Likely cause
Fix
Stencil wipes away within the first hour
Too much transfer medium, or you started before it dried
Thin the layer; wait the full 10–15 minutes
Ghosted, patchy transfer — some lines missing from the start
Paper pressed unevenly, or wrong side faced the skin
Re-press with even pressure; double-check the dye side goes down
Fine lines survive but shaded areas vanish
Printed stencil was too light to begin with
Bump your printer's darkness setting — most thermal printers expose a Darkness/Deepness control (fineline wants the lighter end, bold work the darker end) — see our fix guide for stencils that print too light or too dark
One brand's paper suddenly behaves worse than before
Formula changes happen — we once had to tell a customer straight up that a paper's old formula couldn't be made anymore because the raw materials were discontinued. Dye color also plays in: many artists report purple-dye paper holds up longer under wiping than blue, so it is worth testing if your sessions run long
Re-test your drying time and medium thickness with the new batch; don't assume your technique broke
The Workflow That Puts It All Together
A stencil survives the session when every link in the chain is sound: a crisp print, the right paper, and a purpose-made medium. That is why we sell the Transfer Workflow bundle as one system — the T08FD printer (our pick: touchscreen, INKSOUL-exclusive colors, and a far lower failure rate than the older model), our line paper and shadow paper, plus the transfer gel. The classic T08FS (nearly 1,000 reviews of community trust) pairs with the same paper and gel if you prefer the older machine.
Printer, paper, gel — then technique. Get the chain right and the stencil stops being the thing you worry about mid-session.
FAQ
How long should I wait after applying a stencil before I start tattooing?
At least 10 minutes, and 15–20 for large or multi-section pieces. The fingertip test settles it: touch a corner of the design — if any dye comes off on your finger, it is not ready.
Why does green soap fade my stencil faster than plain water?
Green soap is a surfactant; at full strength it loosens the dye bond with every wipe. Use heavily diluted green soap or plain distilled water during the session, and save full-strength soap for aftercare cleaning.
Can I use Speed Stick instead of a professional stencil gel?
Yes, and many artists started that way — it bonds well enough for small pieces and practice skin. For long sessions or fine detail, a purpose-made gel holds noticeably longer and goes on more evenly.
My stencil keeps vanishing on oily or sweaty skin — what helps?
Inner arms, necks, and clients who sweat heavily are the hard cases. Shave and degrease thoroughly, apply the gel thinner so it reaches tacky faster, give it the full dry time, and do linework over that section with dry wipes. On extremely oily skin, a second thin gel application after the first goes tacky can buy you a stronger bond.
Why does my stencil smudge even though I let it dry fully?
Then the bond was weak from the start — too much medium, damp skin at transfer, or a print that was too light to survive wiping. Fix the upstream step (Step 5's symptom table), not the waiting.
fine line tattoo
My Tattoo Stencil Printed Too Dark on Skin — How Do I Lighten the Transfer?
A stencil that lands too dark isn't a broken printer — it's a transfer-chain problem. Lighten it at three points: print at the lowest Deepness setting your machine offers, lay your transfer gel thin and let it go tacky before placing the paper, and lift the excess dye right after peeling with a lint roller or a clean paper-towel press. If it still reads like a coloring book page, reprint. Don't tattoo through it.
Why stencils come out too dark
Every "too dark" stencil traces back to one of six causes. Diagnose first, fix second — most of the time the printer is the least guilty part of the chain.
Cause
What's happening
The fix
Print density too high
Deepness set to the heavy-line mode (usually labeled II), or the app's darkness slider maxed out
Drop to Deepness I / the lightest setting; print a 2–3 cm test strip first
Transfer gel applied too wet
A thick, wet layer of gel floods the dye off the paper — the single most common cause
Thin layer, then wait until it's tacky to the touch before placing the stencil
Paper pressed on too long
Longer contact = more dye migration into the skin
One firm placement, ~10 seconds of even pressure, peel once
Over-inked source file
Heavy shadows in the reference image flatten into solid dye when the thermal head reads them
Reduce contrast / raise the threshold in your stencil app before printing
Dark-dye paper
Purple hectograph-style dye reads visibly darker on skin than blue-dye paper
Switch paper, or treat it as one "darkness step" and compensate with a lighter print setting
Dirty thermal head
Dye residue and carbon buildup on the print head make it overheat — the head then fires hotter than the setting asks for, and everything comes out dark
Power off, let it cool, then wipe the head strip with a cotton swab lightly dampened with isopropyl alcohol. Let it dry fully before printing. Do this every few weeks of regular use
Fix it before you print: the fastest lever
Almost every thermal stencil printer or copier on the market has two heat levels — commonly labeled Deepness I and Deepness II. The naming is counterintuitive for a lot of artists: Deepness I is the lighter transfer, meant for fine line and detail work; Deepness II is the heavier one, meant for bold linework that has to survive a long session of wiping. If your stencils keep landing dark, check which one you're on before anything else. A surprising number of "my printer is broken" complaints end the moment someone flips from II to I.
The habit that separates working artists from frustrated ones: never commit a full sheet on the first print. Run a 2–3 cm strip — just a corner of the design — and transfer that to the inside of your own forearm or a piece of practice skin. Thirty seconds of testing beats a ruined full-size stencil and a client watching you start over.
This is also where hardware matters. On a machine with a screen you can see the density change and dial it in; on button-only machines you're guessing between two coarse steps. Our pick for the station, the INKSOUL T08FD, gives you that on-screen control before you print — one of the reasons it replaced the older model as our daily driver (touchscreen, INKSOUL-exclusive colorway, and a failure rate far below the previous generation). The older T08FS remains the classic workhorse with a deep bench of artist reviews behind it, but if you're constantly fighting darkness, previewable density control is the feature that actually solves it.
Fix it at the application: where most dark stencils actually happen
Here's the uncomfortable truth: most "my printer prints too dark" problems are gel problems. A thick, wet layer of stencil gel or transfer solution doesn't just hold the stencil — it actively dissolves extra dye off the paper and drives it into the skin. The artists who get consistently clean, light stencils all do the same boring thing:
Apply the gel thin. A dime-sized amount, spread evenly over the area and a little beyond. The surface should look damp, not wet.
Wait until it's tacky. Touch it with a gloved fingertip — it should grab slightly, not slide. This is the step everyone skips. Wet gel = dark, blotchy transfer. Tacky gel = crisp, controlled transfer.
Place once, press evenly, don't slide. About ten seconds of firm, even pressure. Sliding the paper smears dye sideways and darkens edges.
Peel slowly, in one motion. Then leave the stencil alone for a few minutes to set before you start wiping around it.
Two more application details that matter more than people think. First, shave and alcohol-wipe the area first — oil and fine hair create an uneven surface that grabs dye in patches, which reads as "too dark" in the blotchy spots. Second, on practice skin the rules flip slightly: synthetic skin doesn't absorb the way real skin does, so excess dye sits on the surface and looks darker. If you're testing darkness on fake skin, expect it to read roughly one shade heavier than it will on a client.
Fix it after the peel: the lint-roller trick
Sometimes you do everything right and the stencil still lands heavy. Don't reprint yet — you can lift the excess dye off the skin without disturbing the lines:
The lint roller. A clean adhesive lint roller, rolled gently over the fresh stencil, pulls surface dye off the skin while leaving the transferred lines intact. It's the fastest fix in the book, and it costs nothing — this one came straight from working artists, not a manual.
The dry paper-towel press. Lay a folded, dry paper towel over the stencil, press firmly for a few seconds, and lift straight up. It wicks the loose dye sitting on top of the skin.
Dab, don't wipe. If you must touch the stencil with anything damp, dab. Wiping drags dye across the skin and turns a fixable dark stencil into a smeared one.
Alcohol as a last resort. A light pass with an alcohol pad will take a stencil down significantly — but it takes the fine lines with it. Better to lighten selectively with the roller and reprint the piece if the detail is gone.
When to work through it vs. when to reprint
Not every dark stencil needs fixing. The judgment call depends on what you're about to tattoo:
Bold traditional / heavy blackwork: a dark stencil is workable, sometimes even helpful — the lines survive a long session of wiping, and you're going to cover them with saturated ink anyway.
Fine line / single needle / micro-realism: reprint lighter. A heavy stencil on fine-line work is one of the quiet reasons pieces look muddy after healing — the thick purple guide bleeds into your perception of where the actual line sits, and you end up tattooing slightly outside it. If the stencil looks like a coloring book, your healed lines will look like it too.
Portraits and realism: you don't want outlines at all, let alone dark ones. Stipple or dot your shading guides (as tattooing101's stencil guide recommends), and print light — the stencil is a map for your shading, not the drawing itself.
The rule of thumb: if you can't clearly see bare skin between the stencil lines, it's too dark for anything except bold work.
Stencil darkness control checklist
Tape this to the station until it's muscle memory:
Deepness setting matched to the line weight (I for fine line, II for bold)
Test strip on scrap paper or your own arm before the full print
Gel applied thin and left until tacky — never wet
One placement, ~10 seconds of even pressure, single slow peel
Lint roller at the station for post-peel touch-ups
If you've run this checklist — including wiping the thermal head clean — and the stencil is still landing dark on the lightest setting, the limit is likely in the hardware itself: some budget machines only offer two coarse density steps with no preview, and the lightest step still runs too hot for fine-line work. At that point it's worth knowing what finer control buys you: the T08FD lets you preview density on its screen before committing, so you can see the lightness change instead of guessing — same paper, same gel, the only variable that changes is control.
Related reading: if your problem is the mirror image — stencils printing too faint — see our guide on getting sharper lines from your stencil setup, and our paper-recognition troubleshooting guide if the printer won't read the sheet at all.
FAQ
Can I lighten a stencil that's already on the skin without removing it?
Yes. Roll a clean lint roller gently over the stencil to lift surface dye, or press a folded dry paper towel onto it for a few seconds. Both remove the excess without disturbing the transferred lines. Dab — never wipe — if you use anything damp.
My printer is already on the lightest setting and the stencil is still too dark. What now?
Work the other two levers: thinner gel left until tacky (the most common real cause), and a shorter press time. Also check your source file — heavy shadows flatten into solid dye. If all three are dialed in and it's still dark, your machine's lightest step is simply too hot, which is a hardware limitation worth upgrading over.
Does a darker stencil affect how the tattoo heals?
The stencil dye itself doesn't change healing, but a dark stencil changes how you tattoo: on fine-line and realism work, a heavy guide can trick you into placing lines slightly off the true design, and that placement error is what shows after healing. For bold work, stencil darkness is irrelevant to the healed result.
Why is my stencil darker on some clients than others?
Skin chemistry and prep vary. Oily skin and fine body hair grab dye unevenly and read darker in patches — shave and alcohol-wipe first. Very pale skin also shows more contrast, so the same stencil reads heavier. Adjust your gel thinness and press time per client rather than using one routine for everyone.
buying guide
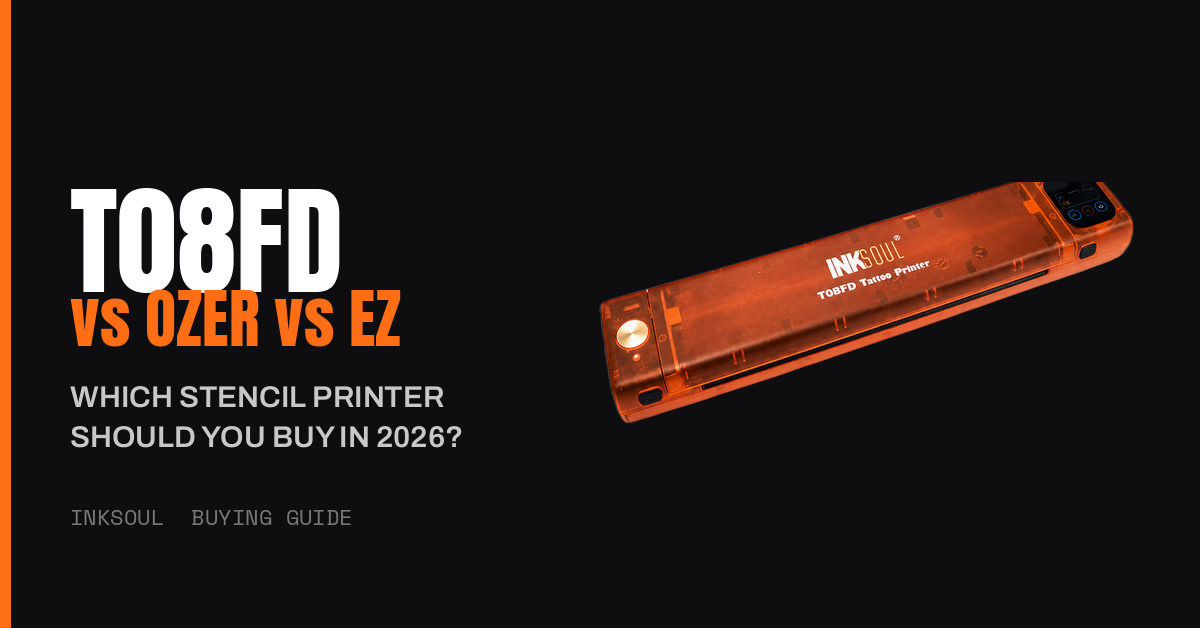
T08FD vs Ozer vs EZ: Which Stencil Printer Actually Prints Shadows?
Shadows are table stakes now — here's what actually separates the INKSOUL T08FD from the Ozer and EZ: touch-screen control, flagship reliability, and a matched transfer workflow. Our pick: the T08FD.