
News
fine line tattoo
My Tattoo Stencil Printed Too Dark on Skin — How Do I Lighten the Transfer?
A stencil that lands too dark isn't a broken printer — it's a transfer-chain problem. Lighten it at three points: print at the lowest Deepness setting your machine offers, lay your transfer gel thin and let it go tacky before placing the paper, and lift the excess dye right after peeling with a lint roller or a clean paper-towel press. If it still reads like a coloring book page, reprint. Don't tattoo through it.
Why stencils come out too dark
Every "too dark" stencil traces back to one of six causes. Diagnose first, fix second — most of the time the printer is the least guilty part of the chain.
Cause
What's happening
The fix
Print density too high
Deepness set to the heavy-line mode (usually labeled II), or the app's darkness slider maxed out
Drop to Deepness I / the lightest setting; print a 2–3 cm test strip first
Transfer gel applied too wet
A thick, wet layer of gel floods the dye off the paper — the single most common cause
Thin layer, then wait until it's tacky to the touch before placing the stencil
Paper pressed on too long
Longer contact = more dye migration into the skin
One firm placement, ~10 seconds of even pressure, peel once
Over-inked source file
Heavy shadows in the reference image flatten into solid dye when the thermal head reads them
Reduce contrast / raise the threshold in your stencil app before printing
Dark-dye paper
Purple hectograph-style dye reads visibly darker on skin than blue-dye paper
Switch paper, or treat it as one "darkness step" and compensate with a lighter print setting
Dirty thermal head
Dye residue and carbon buildup on the print head make it overheat — the head then fires hotter than the setting asks for, and everything comes out dark
Power off, let it cool, then wipe the head strip with a cotton swab lightly dampened with isopropyl alcohol. Let it dry fully before printing. Do this every few weeks of regular use
Fix it before you print: the fastest lever
Almost every thermal stencil printer or copier on the market has two heat levels — commonly labeled Deepness I and Deepness II. The naming is counterintuitive for a lot of artists: Deepness I is the lighter transfer, meant for fine line and detail work; Deepness II is the heavier one, meant for bold linework that has to survive a long session of wiping. If your stencils keep landing dark, check which one you're on before anything else. A surprising number of "my printer is broken" complaints end the moment someone flips from II to I.
The habit that separates working artists from frustrated ones: never commit a full sheet on the first print. Run a 2–3 cm strip — just a corner of the design — and transfer that to the inside of your own forearm or a piece of practice skin. Thirty seconds of testing beats a ruined full-size stencil and a client watching you start over.
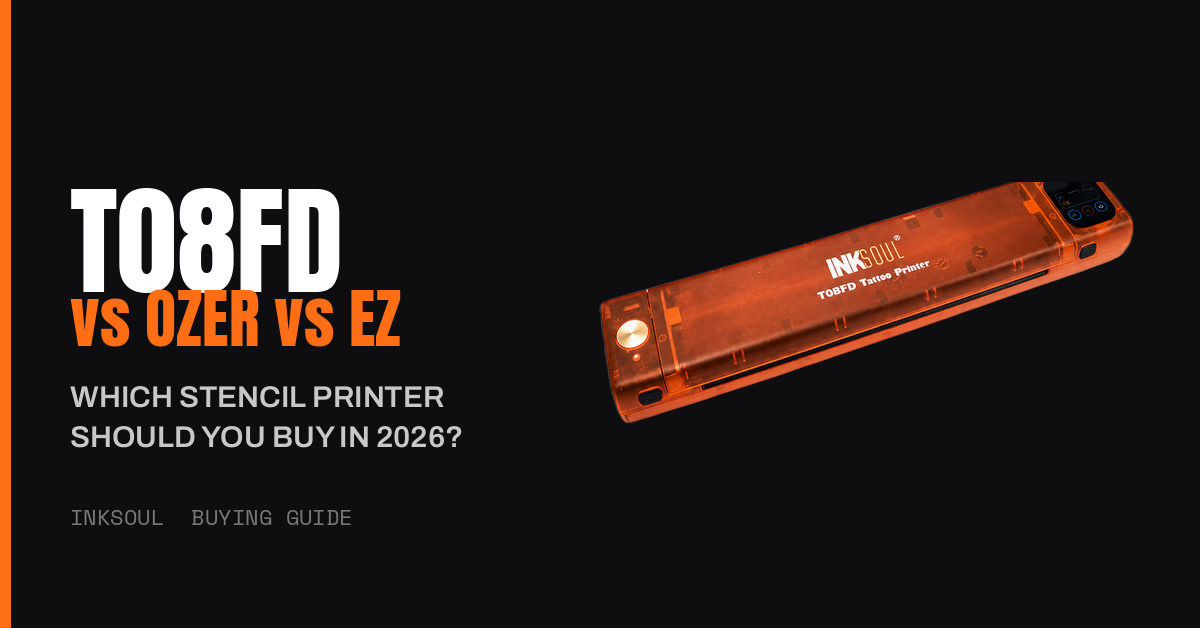
This is also where hardware matters. On a machine with a screen you can see the density change and dial it in; on button-only machines you're guessing between two coarse steps. Our pick for the station, the INKSOUL T08FD, gives you that on-screen control before you print — one of the reasons it replaced the older model as our daily driver (touchscreen, INKSOUL-exclusive colorway, and a failure rate far below the previous generation). The older T08FS remains the classic workhorse with a deep bench of artist reviews behind it, but if you're constantly fighting darkness, previewable density control is the feature that actually solves it.
Fix it at the application: where most dark stencils actually happen
Here's the uncomfortable truth: most "my printer prints too dark" problems are gel problems. A thick, wet layer of stencil gel or transfer solution doesn't just hold the stencil — it actively dissolves extra dye off the paper and drives it into the skin. The artists who get consistently clean, light stencils all do the same boring thing:
Apply the gel thin. A dime-sized amount, spread evenly over the area and a little beyond. The surface should look damp, not wet.
Wait until it's tacky. Touch it with a gloved fingertip — it should grab slightly, not slide. This is the step everyone skips. Wet gel = dark, blotchy transfer. Tacky gel = crisp, controlled transfer.
Place once, press evenly, don't slide. About ten seconds of firm, even pressure. Sliding the paper smears dye sideways and darkens edges.
Peel slowly, in one motion. Then leave the stencil alone for a few minutes to set before you start wiping around it.
Two more application details that matter more than people think. First, shave and alcohol-wipe the area first — oil and fine hair create an uneven surface that grabs dye in patches, which reads as "too dark" in the blotchy spots. Second, on practice skin the rules flip slightly: synthetic skin doesn't absorb the way real skin does, so excess dye sits on the surface and looks darker. If you're testing darkness on fake skin, expect it to read roughly one shade heavier than it will on a client.
Fix it after the peel: the lint-roller trick
Sometimes you do everything right and the stencil still lands heavy. Don't reprint yet — you can lift the excess dye off the skin without disturbing the lines:
The lint roller. A clean adhesive lint roller, rolled gently over the fresh stencil, pulls surface dye off the skin while leaving the transferred lines intact. It's the fastest fix in the book, and it costs nothing — this one came straight from working artists, not a manual.
The dry paper-towel press. Lay a folded, dry paper towel over the stencil, press firmly for a few seconds, and lift straight up. It wicks the loose dye sitting on top of the skin.
Dab, don't wipe. If you must touch the stencil with anything damp, dab. Wiping drags dye across the skin and turns a fixable dark stencil into a smeared one.
Alcohol as a last resort. A light pass with an alcohol pad will take a stencil down significantly — but it takes the fine lines with it. Better to lighten selectively with the roller and reprint the piece if the detail is gone.
When to work through it vs. when to reprint
Not every dark stencil needs fixing. The judgment call depends on what you're about to tattoo:
Bold traditional / heavy blackwork: a dark stencil is workable, sometimes even helpful — the lines survive a long session of wiping, and you're going to cover them with saturated ink anyway.
Fine line / single needle / micro-realism: reprint lighter. A heavy stencil on fine-line work is one of the quiet reasons pieces look muddy after healing — the thick purple guide bleeds into your perception of where the actual line sits, and you end up tattooing slightly outside it. If the stencil looks like a coloring book, your healed lines will look like it too.
Portraits and realism: you don't want outlines at all, let alone dark ones. Stipple or dot your shading guides (as tattooing101's stencil guide recommends), and print light — the stencil is a map for your shading, not the drawing itself.
The rule of thumb: if you can't clearly see bare skin between the stencil lines, it's too dark for anything except bold work.
Stencil darkness control checklist
Tape this to the station until it's muscle memory:
Deepness setting matched to the line weight (I for fine line, II for bold)
Test strip on scrap paper or your own arm before the full print
Gel applied thin and left until tacky — never wet
One placement, ~10 seconds of even pressure, single slow peel
Lint roller at the station for post-peel touch-ups
If you've run this checklist — including wiping the thermal head clean — and the stencil is still landing dark on the lightest setting, the limit is likely in the hardware itself: some budget machines only offer two coarse density steps with no preview, and the lightest step still runs too hot for fine-line work. At that point it's worth knowing what finer control buys you: the T08FD lets you preview density on its screen before committing, so you can see the lightness change instead of guessing — same paper, same gel, the only variable that changes is control.
Related reading: if your problem is the mirror image — stencils printing too faint — see our guide on getting sharper lines from your stencil setup, and our paper-recognition troubleshooting guide if the printer won't read the sheet at all.
FAQ
Can I lighten a stencil that's already on the skin without removing it?
Yes. Roll a clean lint roller gently over the stencil to lift surface dye, or press a folded dry paper towel onto it for a few seconds. Both remove the excess without disturbing the transferred lines. Dab — never wipe — if you use anything damp.
My printer is already on the lightest setting and the stencil is still too dark. What now?
Work the other two levers: thinner gel left until tacky (the most common real cause), and a shorter press time. Also check your source file — heavy shadows flatten into solid dye. If all three are dialed in and it's still dark, your machine's lightest step is simply too hot, which is a hardware limitation worth upgrading over.
Does a darker stencil affect how the tattoo heals?
The stencil dye itself doesn't change healing, but a dark stencil changes how you tattoo: on fine-line and realism work, a heavy guide can trick you into placing lines slightly off the true design, and that placement error is what shows after healing. For bold work, stencil darkness is irrelevant to the healed result.
Why is my stencil darker on some clients than others?
Skin chemistry and prep vary. Oily skin and fine body hair grab dye unevenly and read darker in patches — shave and alcohol-wipe first. Very pale skin also shows more contrast, so the same stencil reads heavier. Adjust your gel thinness and press time per client rather than using one routine for everyone.
buying guide
T08FD vs Ozer vs EZ: Which Stencil Printer Actually Prints Shadows?
Shadows are table stakes now — here's what actually separates the INKSOUL T08FD from the Ozer and EZ: touch-screen control, flagship reliability, and a matched transfer workflow. Our pick: the T08FD.