
News
buying guide
Head-Mounted Tattoo Light vs Studio Lamp: Which Should I Buy?
If you work conventions, guest spots, or PMU detail work, buy a headlamp — the light follows your eyes and you never reposition it. If you work a fixed studio, buy a wall-mounted studio lamp — it lights the whole work area and nobody wears anything. Get polarized light either way: it kills the Vaseline glare that hides your needle marks.
What a headlamp actually gives you
A headlamp puts the light source on the same axis as your eyes. That sounds trivial until you work under a fixed lamp for a year: every time you lean in for a tight line, your hand and machine throw a shadow into the exact spot you're looking at, and you nudge the lamp. Then you lean the other way and nudge it again. A headlamp ends that dance — the lit spot moves with your gaze, shadows fall away from your line of sight, and mid-session lamp adjustments drop to zero.
That's the whole pitch, and for some artists it's everything:
Conventions, guest spots, house calls. Your lighting is in your bag, not bolted to a wall. If your work travels, a fixed lamp was never an option.
Close detail work. PMU, embroidery, fineline dotwork — work where your face is 20 cm from the skin and a fixed lamp can't reach without blinding your client.
Zero repositioning. Long black-and-grey sessions where you shift angle constantly. The light is always where you're looking.
The catch is honest too. You're wearing something on your head for four to six hours. Even light units get noticed by hour three, especially with the elastic band. The battery is finite — plan on a charge per long day, and keep the USB cable in your kit. And the polarized systems (the ones worth buying) only work as a pair: the glasses do half the glare-cutting. Some designs are strict about it — Tumalab's headlamp, for example, is calibrated to be worn on the forehead with its dedicated glasses, and it asks you to switch other lights off. Read the fine print before assuming any headlamp works standalone.
What a wall-mounted studio lamp gives you
A studio lamp is the opposite bet: instead of following your eyes, it floods the entire work zone so your eyes never leave it. The TAIDU X5 Foldable Wall-Mounted Tattoo Lamp is the version of this idea we'd spec for a fixed station: 40W half-moon head, fully dimmable, three color temperatures (warm for atmosphere, neutral for everyday work, cool for fine-detail contrast), on a multi-joint arm that covers roughly 2.4 metres and folds flat against the wall when the station is closed.
What nobody wears, nobody feels. The client doesn't have a beam near their face; your apprentice sees the same lit skin you do; the station photographs well. And dimming turns out to be the feature you use daily: full blast on a fresh, Vaseline-slick tattoo makes clients squint — you dial down between passes, back up for the working pass. A lamp without dimming is a lamp you eventually aim at the wall out of guilt.
The honest cons: it's bolted to one spot, so it never goes to a convention. It needs wall space and a sensible mount height. And physics still applies — a fixed source at an angle casts your hand's shadow into the work area. You learn to park the head high and slightly behind your line of sight, where the shadow falls behind your hand instead of under it. It becomes second nature, but it is a thing you have to learn.
Head-to-head: the real comparison
Head-mounted light
Wall-mounted studio lamp (X5)
Light follows your eyes
Yes — always
No — you position the head
Coverage
One spot, where you look
Whole station (~2.4 m)
Portability
Goes anywhere
Fixed to the wall
Power
Battery — charge per long day
Mains — always on
Shadow behavior
Coaxial light, shadows fall away from sight
Side light, hand shadows need managing
Glare control
Polarized glasses + polarized LED (system)
Built-in polarized light + glasses included
Client comfort
Beam stays off their face naturally
Dimming keeps it comfortable
Comfort for you
Weight on head for hours
Nothing to wear
Price band
~$49
~$159
Best for
Travel, guest spots, PMU, close detail
Fixed studio, multi-artist stations
The detail most comparisons miss: there are two different light problems
Here's the part outsiders never mention, because they've never tattooed under either light. Bad studio lighting is actually two separate problems, and the two lamp types solve different ones.
Problem one is your hand's shadow. Any fixed light at an angle turns your hand and machine into a shadow puppet over the stencil. The headlamp solves this structurally: the light rides your forehead, so the beam and your gaze share an axis and shadows fall behind whatever you're looking at. The wall lamp solves it with size instead — a big half-moon head is a broad source, so shadows go soft rather than sharp. Both work; they're just different physics.
Problem two is specular glare off wet skin. Vaseline, blood, plasma — a fresh tattoo is a mirror. Plain bright light bounces straight back into your eyes and washes out the fine detail. No amount of lumens fixes this; only polarization does. Cross-polarized light plus polarized glasses cancel that surface reflection, and suddenly you can see the actual needle marks in the skin. This is the whole reason INKSOUL's lighting line is built around polarization: our founder's rule is that if you can see exactly where you've already worked, you never double-hit the same spot — and not reworking skin is how you avoid unnecessary trauma. Our ProTeam artists who do long shading sessions, including Li Lu, treat the polarized lamp as non-negotiable for exactly this reason.
So the buying question isn't really "which is brighter." It's: which shadow problem bothers you more, and do you need the light to travel? Both of our options carry the polarization — the INKSOUL Tattoo Headlamp pairs its anti-reflective LED with polarized glasses, and the X5 ships with its own polarized glasses. Glare control is not the differentiator between them. Form factor is.
Decide by scenario
You do conventions or guest spots regularly → headlamp. A wall lamp was never in the running.
You run a fixed studio, one or two stations → wall-mounted lamp. Whole-station light, nothing to wear, photographs well, apprentice sees what you see.
PMU, embroidery, or cosmetic detail work → headlamp. Close-range coaxial light is unmatched at 20 cm.
Your client complains the lamp is too bright → whichever you pick, make sure it dims. This is the number-one comfort complaint about studio lights, and it's a solved problem.
You shoot a lot of healed-work content → fixed lamp for the session, plus a CPL clip for the phone when shooting (that's what our photography light kit is for).
Budget is the decider → the headlamp runs about $49, the X5 wall mount about $159. Different tools, different price — not a quality ranking.
And the answer working pros actually give: many own both. Fixed lamp owns the studio; headlamp lives in the travel kit and comes out for the close passes. If you're choosing one, choose by where you work — not by which spec sheet looks longer. (Related reading: why tattoos look a different color under studio lights — the CRI and color-temperature side of this decision.)
FAQ
Do polarized headlamps only work with the glasses on?
For the glare-cutting part, yes. The LED provides the light; the polarized glasses cancel the surface reflection off wet skin. Without the glasses you get a bright headlamp but keep the Vaseline glare. Wear the pair — that's the system.
Will a headlamp annoy my client?
Almost never. The beam points at the skin from your forehead, which means it points away from the client's face in any normal working posture. If anything, clients prefer it to a big panel glaring down at them. Keep brightness reasonable on fresh work.
Can I use a headlamp and a studio lamp together?
Yes, and plenty of artists do: the fixed lamp lights the station, the headlamp handles the close pass. Just don't stack full brightness on both — total light on wet skin is what causes squinting. Dim the fixed lamp when the headlamp is on.
Is a wall-mounted lamp enough for tattoo photography?
For work-in-progress shots, yes — the X5's even coverage photographs cleanly. For portfolio shots of healed work, add a CPL filter clip on your phone to kill the last of the surface reflection. That's a separate $20-ish problem from choosing your work light.
buying guide
Cheap vs Expensive Tattoo Stencil Printer: What Are You Actually Paying For?
Here's the short answer: almost every wireless thermal stencil printer between $60 and $200 runs the same 203-dpi print engine, so you're not paying for sharper lines — you're paying for QC, heat control, a usable app, and support when the head eventually dies. A $60 no-name unit can print a fine line on day one. The difference shows up around month six, when one printer jams twice a session and the other still pulls crisp stencils.
Why every spec sheet looks identical
Pull up five thermal stencil printers and the numbers read like a copy-paste job: 203 dpi, 1200mAh battery, 13–15 mm/s print speed, ≤216 mm print width, Bluetooth for phone plus USB for PC. That's not a coincidence — this corner of the industry is built on a handful of shared OEM platforms. INKSOUL's own T08FS and the Phomemo M08F come off the same platform, and most of the $60–$90 Amazon generics are the same guts in cheaper plastic.
So when the engine is shared, what's left to differentiate? Three things that never appear on a spec sheet:
Print-head QC. A thermal head is a row of tiny heated elements. On a good batch, every element fires at the same temperature; on a bad one, you get pale patches on one side of every sheet. The pricier machines come from lines that actually reject weak heads.
The firmware density curve. Better printers let you switch between light, moderate, and thick density modes. That switch is the difference between a stencil that prints hairline dotwork without blowing out and one that prints a 3RL line looking like a 9RL.
Whether anyone answers your email when it breaks. The thermal head is a wear part — every head eventually dies. With a supported brand you can get help, parts, or at minimum an answer about cleaning. With a no-name unit, the answer is "buy another one."
What the price gap actually buys
Here's how the tiers break down in practice, based on what we see come back through our own shop:
Tier
Price range
What you get
Ultra-budget generics
$60–$90
Same 203-dpi engine on paper, but inconsistent heads, thin plastic, spotty Bluetooth, and apps that can change or add paywalls without notice. No service channel.
Proven mid-tier (T08FS, Phomemo M08F)
$160–$170
The same platform with real QC and a large installed base. The T08FS, for example, has racked up roughly 990 reviews in our store — that's a lot of real-world paper fed through it.
Screen-equipped flagship (T08FD)
~$189
Everything above plus an onboard screen (no more fishing for the app to change a setting), an exclusive colorway, and — in our own returns data — a noticeably lower failure rate than the older FS.
Note the math: the step from the proven mid-tier to the T08FD is about $20. The step from a generic to the mid-tier is where the real risk reduction happens.
The hidden costs of a $60 printer
Paper waste. Transfer paper costs real money per sheet. A printer that jams or misaligns twice a session quietly eats your "savings" — and a jammed sheet wastes the stencil and the fifteen minutes you spent sizing it. On roll-paper workflows for back pieces and sleeves (T08FD supports 210mm roll paper), a misfeed wastes even more.
The app paywall. This one surprises people. Some budget printers pair with apps whose useful features — shadow filters, line extraction, large-image splitting — sit behind a paid subscription, while the printer's own marketing quietly omitted that part. Check what the app locks before you buy, not after.
No shadow printing. Printing soft shading gradients is the feature that separates current-generation units from old stock. It needs both head hardware that can modulate heat and app filters that pre-process the image. Many cheap units — and older designs — only do hard black lines. If realism, whip shading, or micro-fine linework is your thing, confirm shadow support explicitly.
The head is the unit. When a thermal head dies on an unsupported printer, there's nothing to replace — the machine is a brick. That $60 price only works once.
Insider checklist: what to verify before you buy any thermal stencil printer
Who services the head? Ask how to clean it (answer: alcohol-dipped cotton swab, never a wet wipe or solvent — water and harsh chemicals kill heads) and whether replacements exist.
Does it print shadows, or lines only? Get it in writing, not implied.
Density control. Light/moderate/thick modes are the sign of a mature firmware — and the fix for overblown lines.
App economics. Download the app first. If premium features are subscription-locked, factor that into the price.
PC connectivity. Most units — including the big brands — only connect phones/tablets over Bluetooth; PCs need USB. If your whole workflow is desktop, that's the cable in the box.
Paper compatibility. It should run standard 4-layer A4 thermal paper without drama, and ideally roll paper for large pieces.
A review base, not a spec sheet. Hundreds of verified reviews mean hundreds of owners who'd be complaining loudly if the heads were bad. Spec sheets can't fake that.
Our pick
The T08FD is our pick. It runs $188.88 in our shop — about twenty dollars more than the proven mid-tier — and it buys the onboard screen, the INKSOUL-exclusive colorway, shadow-printing support, and the lowest failure rate of any stencil printer we've carried (the older FS is reliable, but the FD has measurably fewer returns).
The budget-smart choice: the T08FS at $168.88. It's the classic — same core platform, prints shadows, and its ~990 reviews are the strongest trust signal in this category. If the screen doesn't matter to you, you keep the money.
We're honest about one thing: the Phomemo M08F shares the same OEM platform as the FS/FD — we carry it too, at $168.88. If you've already got one, it's not the engine holding your stencils back; it's your density settings and your paper. Speaking of which: the cheapest real upgrade in most studios isn't a new printer at all — it's better paper. We wrote about that here.
FAQ
Does a more expensive stencil printer print sharper lines?
No — the resolution ceiling is identical. Every machine in this class prints at 203 dpi, about 0.13 mm per dot. What money buys is consistency: every element on the head firing evenly, density modes that keep fine lines fine, and fewer jams.
How long does a thermal print head last?
There's no honest universal number — it depends on print volume and care. Clean the head regularly with an alcohol-dipped cotton swab, keep paper dust out of the feed path, and never wipe the head with a wet cloth or strong solvent. When the same pale streaks keep appearing on every sheet after cleaning, the head is done.
Can cheap printers print shadows?
Usually not. Shadow printing needs both a head that can modulate heat and app filters that convert gradients. Budget generics and older designs are lines-only — check the feature list, because "thermal stencil printer" alone guarantees nothing.
Is the Phomemo printer app free?
Basic printing works without paying, but premium features — AI tools, extra filters, unlimited background removal — sit behind an optional paid subscription. Factor that in when you compare "prices": a $20 cheaper printer with a paid app can be the more expensive one within a year.
I'm on a $60 budget. What's the least-bad option?
Honestly? Save up to the proven mid-tier, or buy the best paper you can afford and keep your current printer. The biggest stencil quality jump per dollar in most studios is paper quality and density settings, not a lateral move to another budget box.
buying guide
Thermal Tattoo Transfer Printer vs Transfer Paper: Which Gives Sharper Lines?
Ask a room of working tattoo artists whether the printer or the paper decides stencil sharpness and you'll start an argument. Here's the short answer: the printer sets the ceiling, and the paper decides how much of it survives onto the skin. A great printer feeding cheap, thin paper gives you soft lines. Great paper through a worn-out print head gives you the same. If you can only fix one thing this week, fix the paper first — it's the cheaper half of the equation, and it's the half most artists get wrong.
How a sharp stencil is actually made
A stencil line passes through four handoffs before it ever touches skin, and it can only get softer at each one:
The file. Your line art becomes a grid of black dots. A line thinner than the head's dot pitch simply can't resolve — at 203 dpi, one dot is about 0.13 mm, so anything drawn finer than that risks dropping out entirely. Export at 100% scale; resizing inside the print app re-samples your edges and softens them.
The thermal head. A row of heated elements melts the dye layer dot by dot. Too little heat and the dots never fully form — ghost-pale lines. Too much heat and every dot bleeds into its neighbors — your 3RL-width line prints like a 9RL.
The paper. The dye sheet has to release its pigment cleanly and densely onto the master sheet. Thin, unevenly coated dye gives you patchy lines even when the print itself was perfect.
The skin. Primer choice and application decide whether that crisp line survives four hours of wiping or smears by hour two.
The printer owns exactly one of those four steps. That's why "printer vs. paper" is the wrong question — but it's the question buyers actually ask, so here's the honest breakdown of what each side really controls.
What the printer controls
The resolution ceiling. Nearly every thermal stencil printer in this class prints at 203 dots per inch — roughly 8 dots per millimeter — including the INKSOUL T08FD, which shares its print engine platform with the Phomemo M08F. Your crispest possible line is bounded by that dot grid, and no paper on earth can add detail the head never laid down.
Heat control. This is where printers actually differ in daily sharpness. The darkness or deepness setting is the single most misused control on any stencil printer: too low and fineline work comes out unreadable, too high and everything fattens. The T08FD's touchscreen earns its keep here — nudge heat up or down on the machine itself between prints instead of digging through an app menu while a client waits.
Head condition — the detail nobody lists on a spec sheet. A thermal head wears out. After thousands of prints the heating elements pit and widen, and lines come out progressively fatter no matter what paper you feed it. If your stencils were crisp six months ago and now everything prints bold, that's the head, not the paper. Wipe it with an alcohol pad when it's cool — never scrub it wet and hot — and accept that heads are consumables with a lifespan, not lifetime parts.
Feed and alignment. Paper fed in crooked stretches one side of the image — sharp along one edge, wavy along the other. That's a feed problem, not a paper problem, and a new printer won't fix it.
What the paper controls
Dye density and release. Thermal stencil paper is a four-layer sandwich: the white master sheet on top, a protective tissue, the purple dye (hectograph) layer, and the yellow backing sheet. When the head fires, it melts dye off the dye sheet onto the master. Budget paper cuts its costs in the dye layer — less pigment, uneven coating — and the result is lines that look printed at half darkness even with the heat cranked to maximum.
Line vs. shadow formulation — the part most guides skip. Not all thermal paper is the same recipe. Paper tuned for line work, like our INKSOUL LP100, is formulated to hold a hard edge on fine lines. Paper tuned for shadows, like our SP100, is formulated to release smooth gradients without banding. Print a fineline piece on shadow paper and your hairlines look soft. Print a black-and-grey sleeve on line paper and the gradients stripe. Match the paper to the job and half the "sharpness" problem disappears.
Sheet stability. Thin backing sheets curl in humidity and feed unevenly; a sheet that shifts mid-print smears the line it just laid down. This boring physical property causes a shocking share of "my printer is broken" complaints. The printer is fine. The sheet curled.
Printer vs. paper: the honest scorecard
Thermal printer
Transfer paper
Maximum detail
Sets the ceiling (203 dpi dot grid)
Can't exceed the ceiling
Line edge crispness
Heat setting decides: too hot fattens, too cool fades
Dye density and coating decide: thin dye = patchy lines
Consistency sheet to sheet
Stable until the head wears
Varies by batch on budget paper
Shadow and gradient quality
Depends on the engine (true shadow printing vs. outline-only)
Shadow-formulated paper prevents banding
Fine-line survival
Lines below dot pitch drop out regardless
Line-formulated paper holds the edge
Cost to upgrade
$168–$189 for a real step up
$38.88 per 100 sheets — the cheap experiment
Blame it when…
Everything printed bold that used to print fine (worn head); one side wavy (feed)
Patchy or pale lines at correct heat; problems that follow the paper batch
The blurry-stencil diagnostic: check in this order
When a stencil comes out soft, work through this list before spending money. It isolates the culprit in about two minutes:
Print a test strip first. Run a 2–3 cm section of the design before committing a full sheet. Adjust heat one notch at a time — most "blurry printer" cases are just the wrong deepness setting, and the strip costs you a corner of a sheet instead of a whole one.
Check the file. Confirm you're printing at 100% scale with no app-side resizing, and that your thinnest lines aren't finer than the head can resolve. Fineline artists: if your 0.5 pt hairlines keep vanishing, that's physics, not a defective printer — thicken the stencil lines slightly and let the needle do the delicate work.
Swap one sheet of paper. This is the step that saves people money. Print the same file on one sheet of paper you trust. If the problem vanishes, it was never the printer — it was the paper batch. A $0.39 sheet just answered a $189 question.
Clean the head. Alcohol pad, head completely cool, gentle single-direction wipe. If lines were gradually fattening over months, this is your culprit, and cleaning only buys time — plan for head wear as a consumable cost.
Watch the feed. Watch a full sheet go through. Any skew, hesitation, or curling mid-feed smears lines no setting can fix — flatten curled sheets under a book for ten minutes first.
Check the skin step. If the stencil looks razor-sharp on paper but soft on skin within the hour, the print was never the problem — your primer layer was too thick, too wet, or never went tacky. Sharp on paper and smeared on skin is an application failure.
Our pick: the sharpest combination we sell
For line work — fineline, script, geometric, anything where the edge is the artwork — the sharpest setup on our shelf is the INKSOUL T08FD ($188.88) paired with LP100 line paper ($38.88 for 100 sheets). The printer gives you on-machine heat control, true shadow printing, and the lowest failure rate of any printer we carry; the paper is formulated specifically to hold a hard line edge. It's the combination I'd hand to an artist who earns a living on crisp lines.
For black-and-grey and realism, keep the same printer and switch the paper to SP100 ($38.88 for 100 sheets) — same 203 dpi engine, different dye release, smooth gradients instead of banding. Printing full backs and sleeves? The 210 mm roll paper ($42.88 a box) removes the sheet-length limit entirely.
On a tighter budget, the classic T08FS ($168.88) runs the same shadow-capable print engine — you give up the touchscreen and the lower failure rate, not the sharpness. Pair it with the right paper and it prints every bit as crisp.
One thing this debate always misses: the sharpest stencil is worthless if it slides off the skin mid-session. A thin, even layer of stencil primer ($8.88), left to go tacky before you lay the stencil down, is what carries that crisp line through hour four. If you want the full application walkthrough, our five-step transfer paper guide covers it — and if you're still choosing a printer, start with our stencil printer buying guide.
FAQ
Will a better printer fix blurry stencils if I'm using cheap paper?
No. A printer can only melt the dye the paper actually contains — thin, unevenly coated dye gives patchy lines at any heat setting. Upgrade the paper first; it's a $38.88 experiment versus a $188.88 gamble, and it answers the question either way.
Why are my lines faint even with the heat turned all the way up?
Three usual suspects, in order: the dye layer on that paper batch is thin (swap one trusted sheet to test), the file's lines are below the head's dot pitch and can't resolve, or the print head is worn and no longer reaching full temperature. Cranking the heat on a worn head just fattens what little prints.
Do I really need different paper for line work and shading?
If you do both styles, yes. Line-formulated paper (LP100) holds a hard edge on fine lines; shadow-formulated paper (SP100) releases gradients without banding. Using one paper for everything means compromising one of the two — most artists keep both and grab per piece.
How do I know my print head is wearing out versus just dirty?
Clean it first — alcohol pad, completely cool, one gentle pass. If lines were sharp months ago, have been gradually fattening, and cleaning changes nothing, the elements are pitted and widening with age. That's wear, and it's normal: heads are consumables, not lifetime parts.
Does transfer paper go bad on the shelf?
It degrades, yes. Heat, humidity, and light break down the dye layer over time — old stock prints pale and patchy even on a perfect printer. Store it flat, cool, and dark, and don't hoard a two-year supply to save a few dollars; stale paper costs more in reprints than it saved.
buying guide
Vortex Mixer vs Magnetic Stirrer for Tattoo Ink — Which Should I Buy?
Short answer: Buy a vortex mixer if you mix ink inside the bottle — it re-suspends settled pigment in seconds and nothing ever touches your ink. Buy a magnetic cup stirrer if you pre-pour ink cups and want several colors kept moving hands-free during setup. They solve two different halves of the same problem, and busy color artists often end up owning both.
Why this choice even matters: settled ink lies to you
Tattoo ink is pigment suspended in a carrier, and suspensions settle. The heavier the pigment load, the faster it drops — whites and yellows are the worst offenders. A bottle that sat overnight pours thin, carrier-heavy ink first and sludge by the end of the session.
That is not a cosmetic issue. Saturation, layering, and healed results all depend on every drop carrying the same pigment concentration as the first. Hand-shaking helps, but it is inconsistent — thirty seconds of wrist work after a long day is not the same as thirty seconds in the morning, and everyone knows the temptation to skip it by mid-session.
So the real question is not "mixer or no mixer." It is where your bottleneck lives: in the bottle before you pour, or in the cup after. Vortex and magnetic machines attack different bottlenecks.
How each one actually works
Vortex mixer: shake the bottle, touch nothing
A vortex mixer has an off-center spinning cup on top. Press a bottle down into it and the base vibrates in a tight circular motion, creating a whirlpool inside the liquid that pulls pigment off the bottom and folds it back into suspension by sheer agitation.
The defining trait: nothing enters the liquid. No stir bar, no stick, no magnet. The bottle stays sealed until you open it to pour. Mixing is violent and fast — a few seconds for a recently used bottle, up to 10–15 seconds for one that has sat for weeks.
Magnetic stirrer: stir the cup, never stop
A magnetic stirrer hides a rotating magnet in its base. Drop a small magnetic mixing ball into your ink cup, set the cup on a station, and the ball spins with the magnet — a tiny whirlpool keeps the ink moving hands-free for as long as you leave it on.
The defining trait: it maintains, rather than rescues. It keeps poured ink homogeneous while you work, and multi-station units keep a whole row of colors ready at once. But something does live inside your ink: the ball itself.
Side-by-side: vortex vs magnetic for tattoo ink
Vortex mixer
Magnetic cup stirrer
What it mixes
Sealed bottles, tubes, small containers
Open ink cups you have already poured
Anything touching the ink?
No — sealed system
Yes — a magnetic mixing ball sits in the cup
Time to ready
Seconds per bottle, on demand
Continuous — always ready while running
Thick, settled pigment
Strong — high-RPM agitation breaks up sediment
Weak point — the ball can decouple and spin out in viscous ink
Hands-free?
One press per bottle; you hold it for a few seconds
Fully hands-free, multi-cup
Classic failure mode
Noise and vibration at high RPM; won't fit oversized bottles
Ball ejected off-center; cup "walking" across the station
Consumables
None
Mixing balls (replacements should be cheap and stocked)
INKSOUL examples
VM-300, 10,000 RPM, $55.88; INKSHAKER S100, 7,000 RPM, $48.88
8-site cup mixer kit, $128.88 (balls refill $6.66/216pcs)
Best for
Bottle-first artists, greywash pre-mixing, heavy pigments
Cup-first color work, long sessions, multi-color setups
The three failure modes nobody prints on the box
1. Magnetic decoupling: thick ink defeats weak magnets
A magnetic stir ball only spins while it stays coupled to the magnet under the station. Lab guidance on magnetic stirring is blunt about the limit: in thick, viscous liquids the bar decouples — it stops following the magnet, rattles to one side, and stirs nothing. Dense white and heavily loaded pigments are exactly the inks that live near that limit. If your palette is mostly thin lining blacks and washes, you will never see this. If you pack solid white all day, test any magnetic unit with your thickest ink before trusting it.
2. The ejected stir ball (and the walking cup)
The most repeated complaint in real-world mixer reviews is the stir ball being flung off-center or out of the cup entirely, sometimes taking ink with it. It happens when the ball starts off-center, speed ramps too fast, or the cup is not seated in a recess. The fixes are boring but real: start slow, center the ball before you walk away, and prefer a station with a defined cup seat over a flat plate. One artist's review of ink ending up on the floor — "100mls of juice on the floor" — is the extreme version of the same physics.
3. Vortex noise is the price of vortex speed
Every seller in this category claims "quiet operation," because noise is the universal complaint. Be honest with yourself: a 10,000 RPM vortex is a speed tool, not a silence tool. Our VM-300 is positioned exactly that way — the fastest way we know to bring a settled bottle back, and it will hum while it does it. Five press-to-mix seconds bother nobody; a low-RPM unit buzzing for a full minute to half-mix a bottle of white is the worse deal. Judge vortex mixers on seconds to a uniform bottle, not decibel claims nobody measures the same way.
The magnet-in-your-ink question
Some artists simply do not want anything sitting in their ink — a real preference that surfaces whenever magnetic stirring comes up. With a cup stirrer, the ball contacts every drop in that cup. In practice, the cups and balls in a kit like ours are single-session consumables (the 8-site kit ships with 20 cups; 216-ball refills cost $6.66), so nothing carries between clients. If your line is "nothing touches the ink, ever," go vortex and never look back — the sealed-bottle workflow removes the question entirely.
Decide by workflow, not by spec sheet
You pour from bottles as you go: vortex. Five seconds on the base before each pour, every color, every time. The INKSOUL VM-300 (10,000 RPM, built-in rechargeable battery, $55.88) is the speed-first option; the INKSHAKER S100 (7,000 RPM, $48.88) covers the same job for less if your inks are not heavily settled.
You pre-pour a full palette and work for hours: magnetic. An 8-site cup mixer keeps eight colors in suspension on an aluminum frame while you tattoo — no re-shaking between passes, no settling in the cup during a long black-and-grey or color session.
You pre-mix greywash sets: vortex, in the bottle, before you ever pour. Wash values are ratios; if the black going into the mix is half-settled, your "25% wash" is not 25%. Mix the parent bottle first, then dilute.
Conventions and guest spots: a compact rechargeable vortex travels better than a multi-station frame and works with whatever bottles you brought. The cup mixer earns its luggage space only if your guest setup is cup-based all day.
You want mixing to just disappear: the third option is a rotating ink rack that keeps bottles slowly turning on display — our 48-bottle rotating ink rack doubles as storage and anti-settling insurance. It maintains; it does not rescue a bottle that has sat for a month. Pair it with a vortex and the problem is covered at both ends.
Both mechanisms: INKSOUL Mixing Equipment.
Buying checklist (either mechanism)
Test with your thickest ink. White or your densest pigment is the audition. If it mixes that, it mixes everything.
Seconds-to-uniform beats RPM claims. RPM is a motor spec; uniformity is the outcome. A stronger vortex that finishes in 5 seconds beats a weaker one running four times longer.
Check the consumable math before you buy. For magnetic systems: are balls and cups in stock, in what quantity, at what price? A $6.66 refill pack of 216 balls is what healthy consumable pricing looks like. If refills are vague, the machine is a countdown timer.
Seating and stability. Cup seats for stirrers; a non-slip, weighted base for vortex units. Both sit next to open ink — staying put is a feature.
Power that matches your station. Rechargeable if your bench is cable-hostile or you travel; corded if the unit never moves.
One honest limit check. Vortex cups have a max bottle size; magnetic balls have a max viscosity. Know which limit your palette hits first.
FAQ
Can a magnetic stirrer handle white tattoo ink?
Sometimes. White is the highest-load, fastest-settling pigment most artists own, and it is the classic decoupling case: the ball loses the magnet and stops stirring. If white is central to your work, either audition the unit with your own bottle of white first, or vortex-mix the bottle and let the stirrer merely maintain the poured cup.
Why does my stir ball keep flying out of the cup?
Usually one of three causes: the ball started off-center, speed ramped too fast for the ink's viscosity, or the cup sits on a flat surface with nothing keeping it located. Center the ball, start slow, use a station with a defined cup seat. If it still ejects with thin ink at low speed, the magnet coupling is simply weak — a product flaw, not user error.
Does vortex mixing put bubbles in the ink?
Briefly, yes — aggressive agitation introduces micro-bubbles. Mix the bottle, then pour, then let the cup sit a moment while you set up; the bubbles rise and clear quickly. Do not pour mid-vortex and start lining immediately.
How long should I vortex a bottle that has sat for weeks?
Start with 10–15 seconds, then check the bottle against the light: uniform color, no sediment layer at the bottom, no watery top. Add five-second bursts until uniform. If a bottle stays gritty or separated after a full minute, that is an expired-ink conversation, not a mixer problem.
Can I vortex 2oz or 4oz bottles, or only 1oz?
Press-down vortex cups are built around standard 1oz (30ml) bottles and similar small containers. Larger bottles may not seat properly, and an unseated bottle mixes poorly and walks. If most of your stock is 2oz+, check the cup diameter against your biggest bottle before ordering — or decant working colors into 1oz bottles, as most high-volume artists end up doing anyway.
Bottom line
Vortex mixers rescue bottles; magnetic stirrers maintain cups. If your ink lives in bottles until you pour, a vortex unit — the faster the better — is the buy. If you pour a palette and live in cups for hours, a multi-site magnetic stirrer does its job all session. Cannot decide? Your studio probably does both: start with the vortex, add the cup stirrer when long color sessions become your normal.
buying guide
How to Choose a Tattoo Needle Washer: 6 Things That Actually Matter
Short answer: A needle washer is a mid-session color-change tool, not a sterilizer. If you change colors a lot during a session, an electric washer pays for itself in speed and cleaner transitions. Judge one on six things: adjustable water flow, replaceable cleaning nozzles, cartridge-and-traditional compatibility, splash control, a base that won't tip, and consumables you can actually reorder. Mostly black-and-grey? A rinse cup does the job.
The moment that sells every needle washer
You're three hours into a color sleeve. Yellow, then orange, then red — and by the fourth color change, your rinse cup looks like pond water. You swirl the cartridge, wipe it, dip into the new color, and the first line comes out muddy. You know exactly what happened: your "clean" rinse wasn't clean. You spend the next ten minutes re-laying color you already laid down.
That pond-water moment is the entire business case for a tattoo needle washer. Not hygiene theater, not a shelf gadget — a small electric unit that fires a jet of clean water through your cartridge tip every time you change colors, so every new color starts clean. Most units rinse a tip in two to three seconds, hands-free, the moment the sensor detects your needle.
But not all washers are built equal, and the category has real duds. Here's how to buy one without learning the hard way.
First, understand what it is — and isn't
A needle washer rinses ink off your needle between color changes. It does not sterilize anything, and it is not a replacement for your ultrasonic cleaner or autoclave — those belong to a different workflow (deep-cleaning reusable tubes and tools between clients, not between colors). One honest reviewer of a popular unit put it well: the washer is a supplement to deep cleaning, not a substitute. Anyone selling you "sterilization" from a rinse jet is selling you fiction.
Cartridge needles are single-use and EO-sterilized in sealed packaging — you open a fresh one per client regardless. The washer's job is narrower and, frankly, more useful: keeping color transitions clean within a session.
Your three options, honestly compared
Rinse / dip cup
Electric needle washer
Ultrasonic cleaner
What it does
Manual swirl in water between colors
Sensor-triggered water jet, 2–3 seconds, hands-free
Cavitation deep-cleans reusables
Mid-session?
Yes — but the water gets dirty fast
Yes — fresh water every rinse
No — too slow, and it's a different job
Typical cost
Practically free
~$50–130
~$100–300+
Weakness
Ink soup by the fourth color; inconsistent
Needs power and replacement nozzles
Not a color-change tool at all
Best for
Black-and-grey, beginners, travel kits
Color artists, busy studios
Reusable tubes and tools, between clients
Most artists asking "washer or ultrasonic?" are comparing the wrong things — they do different jobs. The real mid-session choice is dip cup vs. electric washer.
6 things to check before you buy
1. Adjustable water flow — non-negotiable
This is the number-one complaint in real buyer reviews across the category: water pressure that's either too weak to rinse properly or so aggressive it sprays ink across the station, plus sensors that misfire. A flow knob turns a finicky gadget into a reliable tool. If a unit has one fixed pressure and no adjustment, walk away — your station's water pressure, ink viscosity, and needle groupings all vary, and the washer has to vary with them.
2. Replaceable cleaning nozzles — and refills that actually exist
The cleaning nozzle (or bag) is a wear part. It meets ink every few minutes, all day. The question isn't whether you'll replace it, it's whether you can — and at what price. Before buying any washer, find the refill: is it in stock, what's the pack size, what's the price? A washer whose consumables get discontinued is a paperweight with a sensor. (We sell 10-packs of disposable accessories for our PRO washer at $6.66 — the refill math should always be this boring.)
3. Cartridge AND traditional needle compatibility
Some washers are cartridge-only. If you still run traditional needle-bar-and-tube setups for any of your work, check that the opening fits both. Buying a cartridge-only washer is perfectly fine if you're all-cartridge — just make it a conscious choice, not a surprise on delivery day.
4. Splash control and a base that won't tip
A washer lives on a crowded, wet workbench next to ink caps, machines, and your client's arm. Two things matter: a base heavy or magnetic enough to stay put when you dock the machine one-handed, and a nozzle design that doesn't mist ink onto everything nearby. Straight-tube nozzles splash less than angled ones — a small design detail with outsized consequences for how clean your station stays.
5. Corded vs. rechargeable
Rechargeable units are genuinely convenient — no cable hunting, and they travel well to guest spots and conventions. The tradeoff is the obvious one: a dead battery mid-session. Corded units never die but tether you to an outlet. If you go rechargeable, check the real battery life against your longest session, not the marketing number.
6. Use distilled water, not tap
No product page leads with this, but mineral deposits from tap water build up in sensors, valves, and nozzles over time — the slow version of the "inconsistent water pressure" complaints you see in reviews. Distilled water is cheap and extends the unit's life noticeably. Keep a bottle at your station; it's the lowest-effort maintenance you'll ever do.
When you should NOT buy one
Honest answer: plenty of great artists never touch a washer.
Black-and-grey specialists. If your sessions are greywash, black, and the occasional white highlight, a rinse cup handles your two or three "color changes" just fine.
Beginners on a budget. Your money goes further into needles, ink, and practice skin. A washer is a workflow upgrade, not a skill upgrade.
Travel and guest-spot kits. Every extra device is weight and setup time. Disposable rinse cups win on the road.
If that's you, disposable dip foam cups ($12.88 for 20) are the low-tech answer: a fresh cup per session, zero maintenance, toss when done.
What we carry
Same rule as our other guides: we only recommend what we actually sell and support — no sponsored placements, no review-unit fluff. Prices below are from our store at the time of writing.
INKSOUL Tattoo Needle Washer PRO — $118.88. The standalone unit: sensor-activated rinse, works with standard cartridge needles, replacement nozzle packs available so it stays in service for years. Buy this if you already have rinse cups and just want the washer. See the Needle Washer PRO
Needle Washer Kit — $128.88. The washer plus dip cup caps and a 10-pack of disposable accessories — the full station setup in one box. See the Needle Washer Kit
Dip Foam cups, 20-pack — $12.88. Disposable rinse cups for cartridge needles — the travel, guest-spot, or budget option. See Dip Foam cups
FAQ
Does a needle washer sterilize my needles?
No. It rinses ink off the tip between color changes — that's cleaning, not sterilization. Cartridge needles are single-use and come EO-sterilized; you still open a fresh one per client. Deep cleaning of reusable tools is a separate workflow (ultrasonic cleaner, then autoclave).
Can I use a needle washer with traditional (non-cartridge) needles?
Depends on the unit. Many washers accept both cartridge tips and traditional needle groupings, but some are cartridge-only. Check the opening size and the product's compatibility list before buying — don't assume.
How often do I replace the cleaning nozzles or bags?
They're wear parts: expect to swap them regularly if you tattoo full days. The real question is refill availability and price — a $6.66 ten-pack you can reorder beats a proprietary nozzle that's out of stock everywhere.
Do I need distilled water, or is tap water fine?
Distilled is better. Tap water leaves mineral deposits in sensors, valves, and nozzles over time, which is behind many "inconsistent water pressure" complaints. A bottle of distilled water at your station is the cheapest maintenance you'll do.
Is a needle washer worth it for a beginner?
Probably not yet. If you're still building fundamentals, put the money into needles, ink, and practice skin — a rinse cup covers your color changes. A washer earns its keep once you're doing multi-color sessions regularly and every muddy transition costs you real time.
buying guide
What Is the Best Tattoo Stencil Printer for Professional Use?
Five stencil printers compared, from a $78.99 pocket unit to a $699 A3 machine. Our professional pick: the INKSOUL T08FD ($188.88) — touch screen, true shadow printing, lowest failure rate we carry.
buying guide
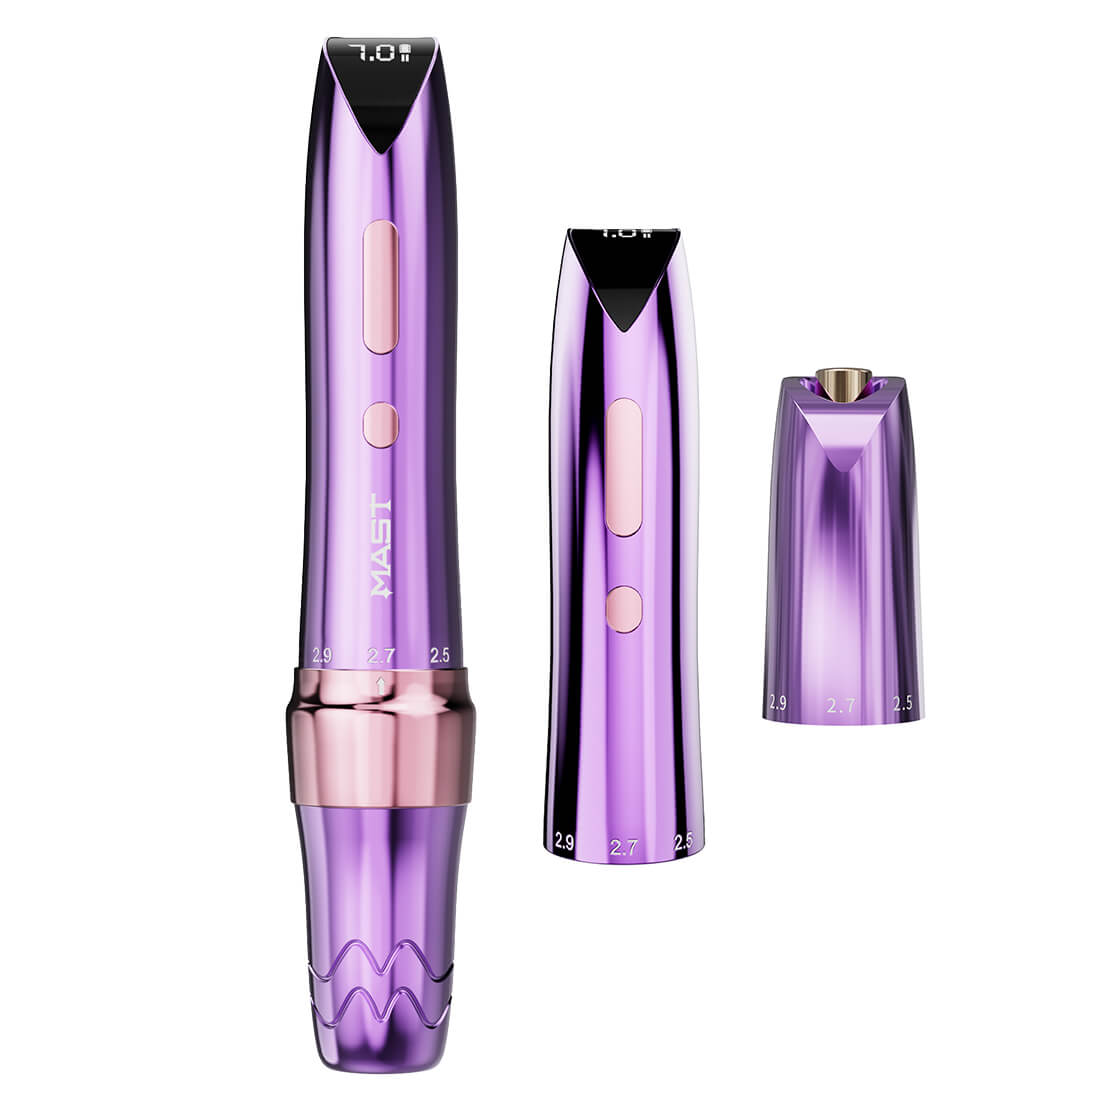
Tattoo Pen Buying Guide 2026: Choose the Right One
How to choose a tattoo pen machine in 2026: wireless vs wired, stroke length, motor types, beginner vs pro picks, and how to spot genuine machines from an authorized dealer.
buying guide
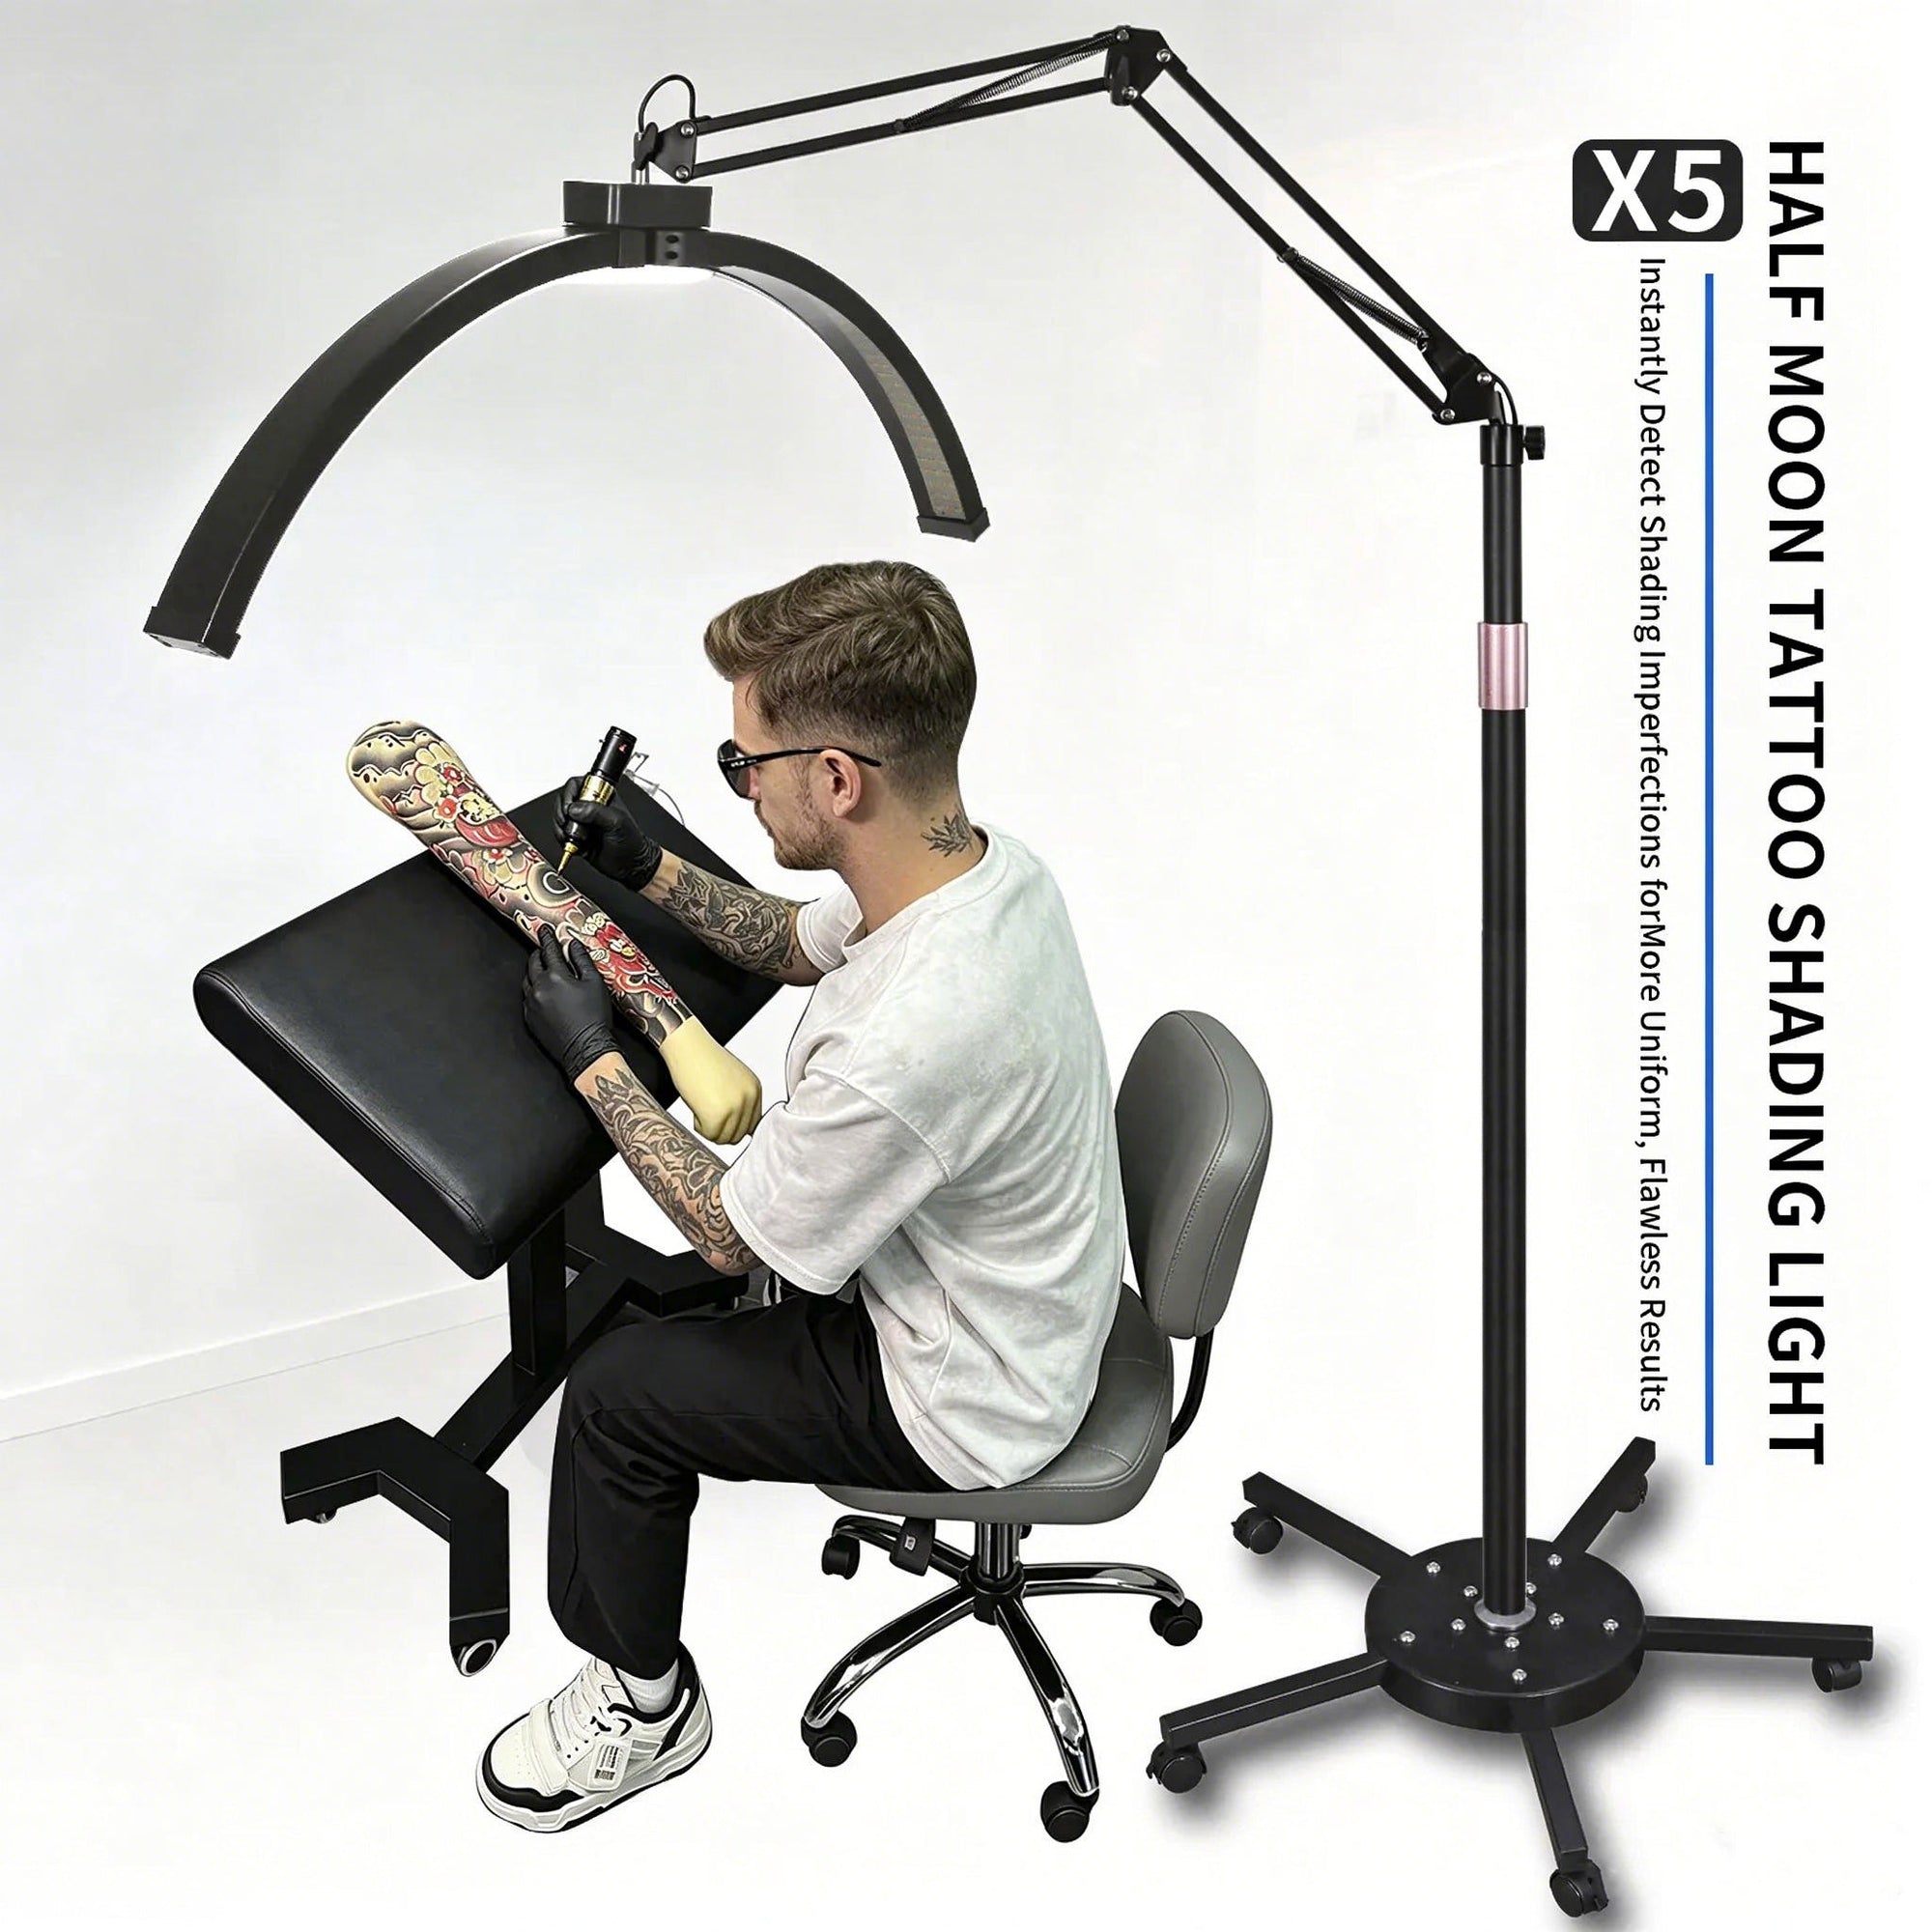
Tattoo Studio Lighting Guide: How to Choose the Right Light
How to choose studio lighting that actually helps you tattoo: brightness, color temperature, positioning — plus why polarized light cuts Vaseline glare so you can see needle marks.
buying guide
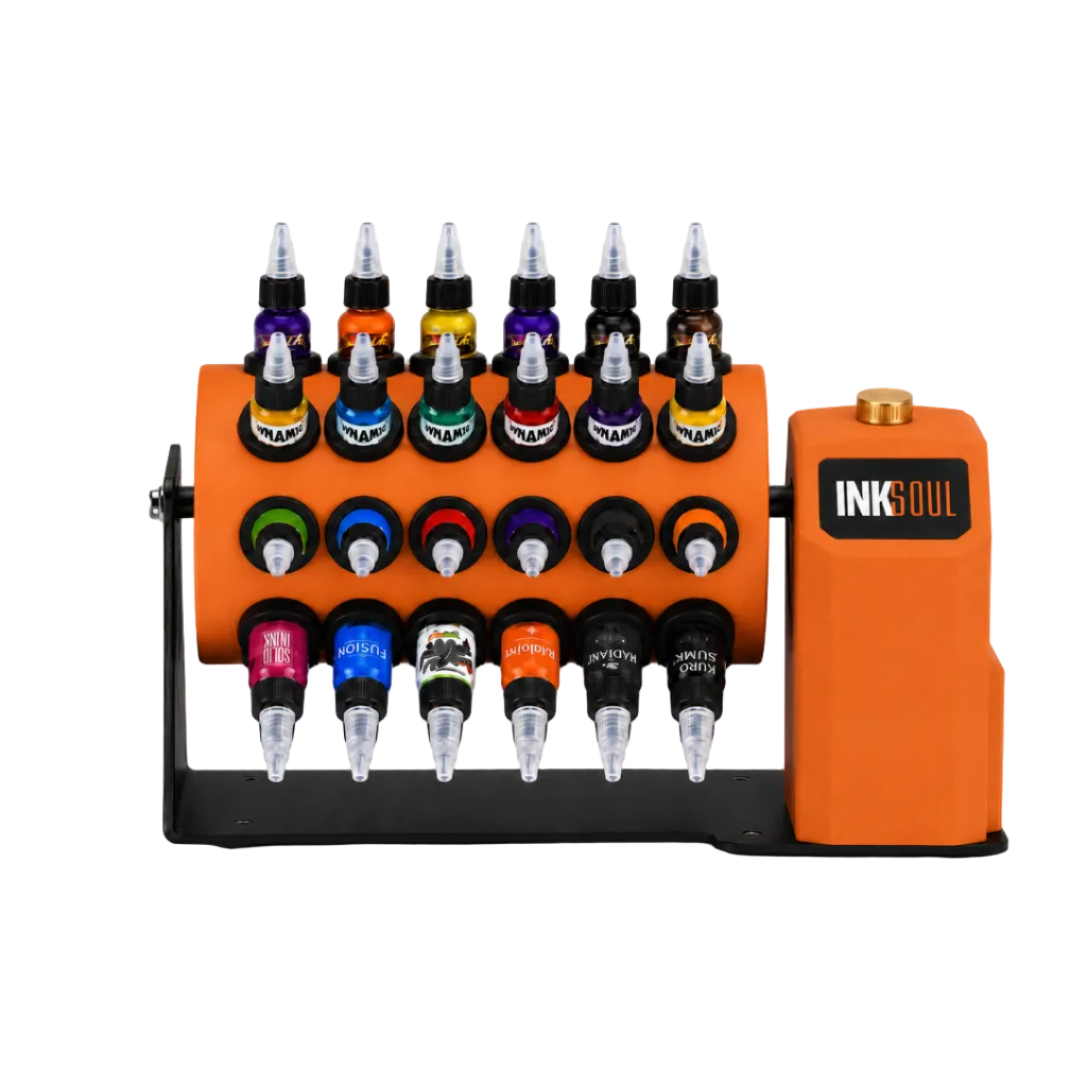
Tattoo Ink Rack Buying Guide: How to Organize Your Ink Like a Pro
How to organize your ink like a pro: rack types, bottle compatibility, keeping pigment mixed and ready — featuring the INKSOUL 48-bottle rotating rack.