Creating your own tattoo stencil at home is easier than ever. Whether you’re working with traditional transfer paper or using a thermal stencil printer such as the XIRU XR3 A4 Tattoo Thermal Transfer Printer, this detailed guide walks you through every essential step—from design selection to applying the stencil safely.

Table of Contents
- 1. Methods to Print Tattoo Stencils at Home
- 2. What You Need
- 3. Using a Thermal Stencil Printer (XIRU XR3)
- 4. Manual Tracing via Transfer Paper
- 5. Applying the Stencil on Skin
- 6. Best Practices & Troubleshooting Tips
- 7. Summary Table
- 8. References
1. Methods to Print Tattoo Stencils at Home
There are two main ways to create tattoo stencils:
- Thermal printing: Using a dedicated thermal tattoo stencil printer (no ink needed).
- Manual tracing: Transfer carbon stencil paper and hand-tracing with a pen.
2. What You Need
- Design source: Digital image or printed sketch.
- Thermal stencil paper: Multi-layer carbon paper compatible with stencil printers.
- Transfer paper (if manually tracing): Carbon-backed stencil sheets.
- Tattoo stencil printer: e.g., XIRU XR3.
- Ballpoint pen or tracing tool (for manual method).
- Stencils application spray, gloves, scissors, towel.
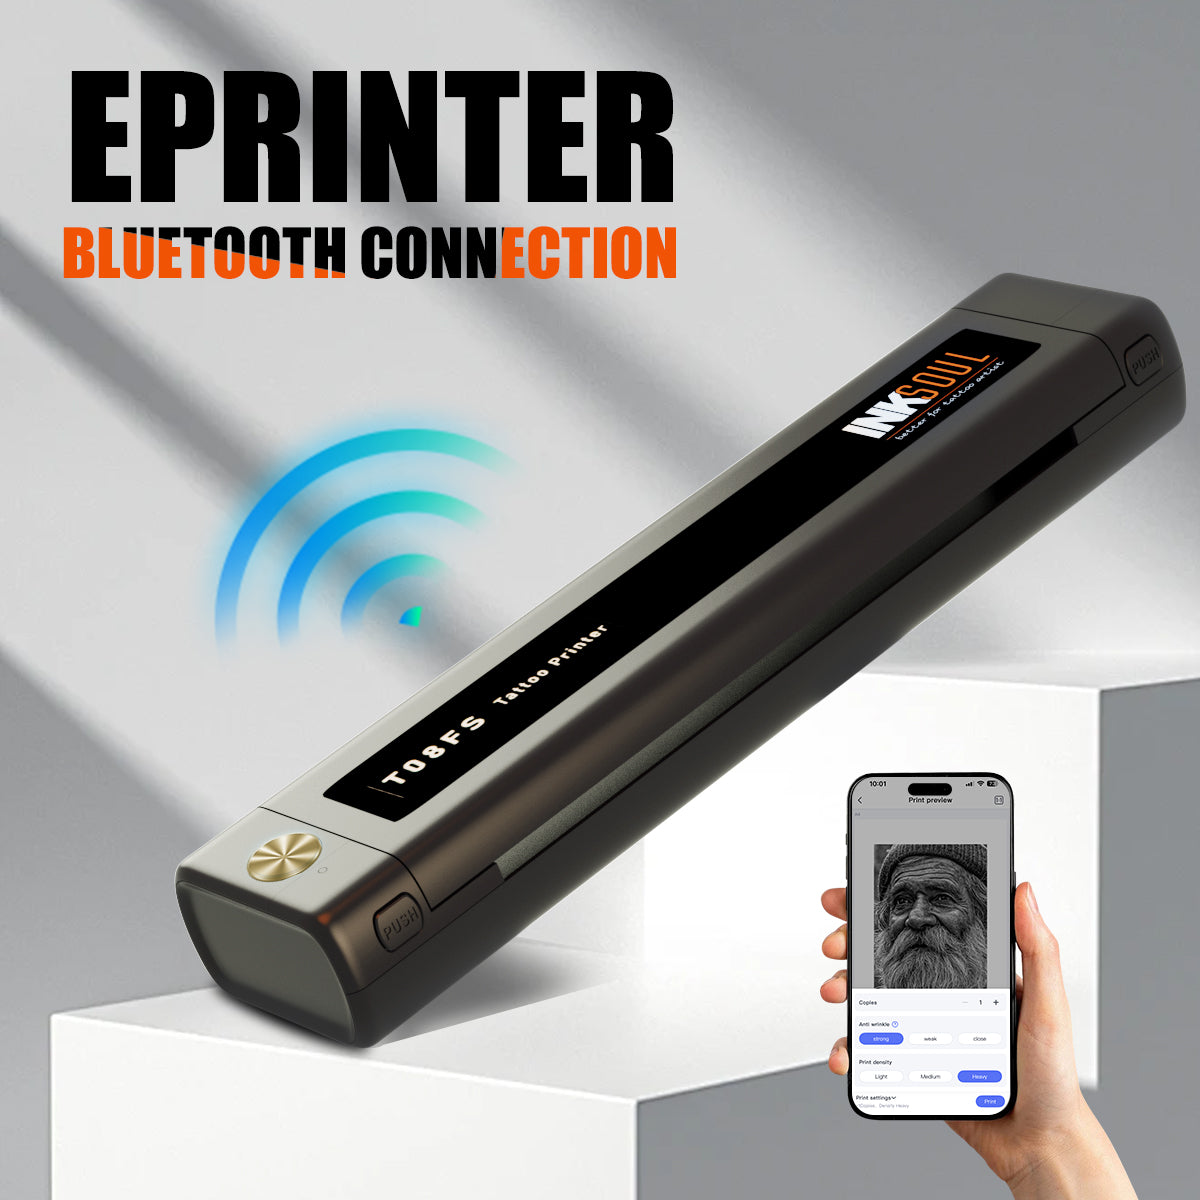
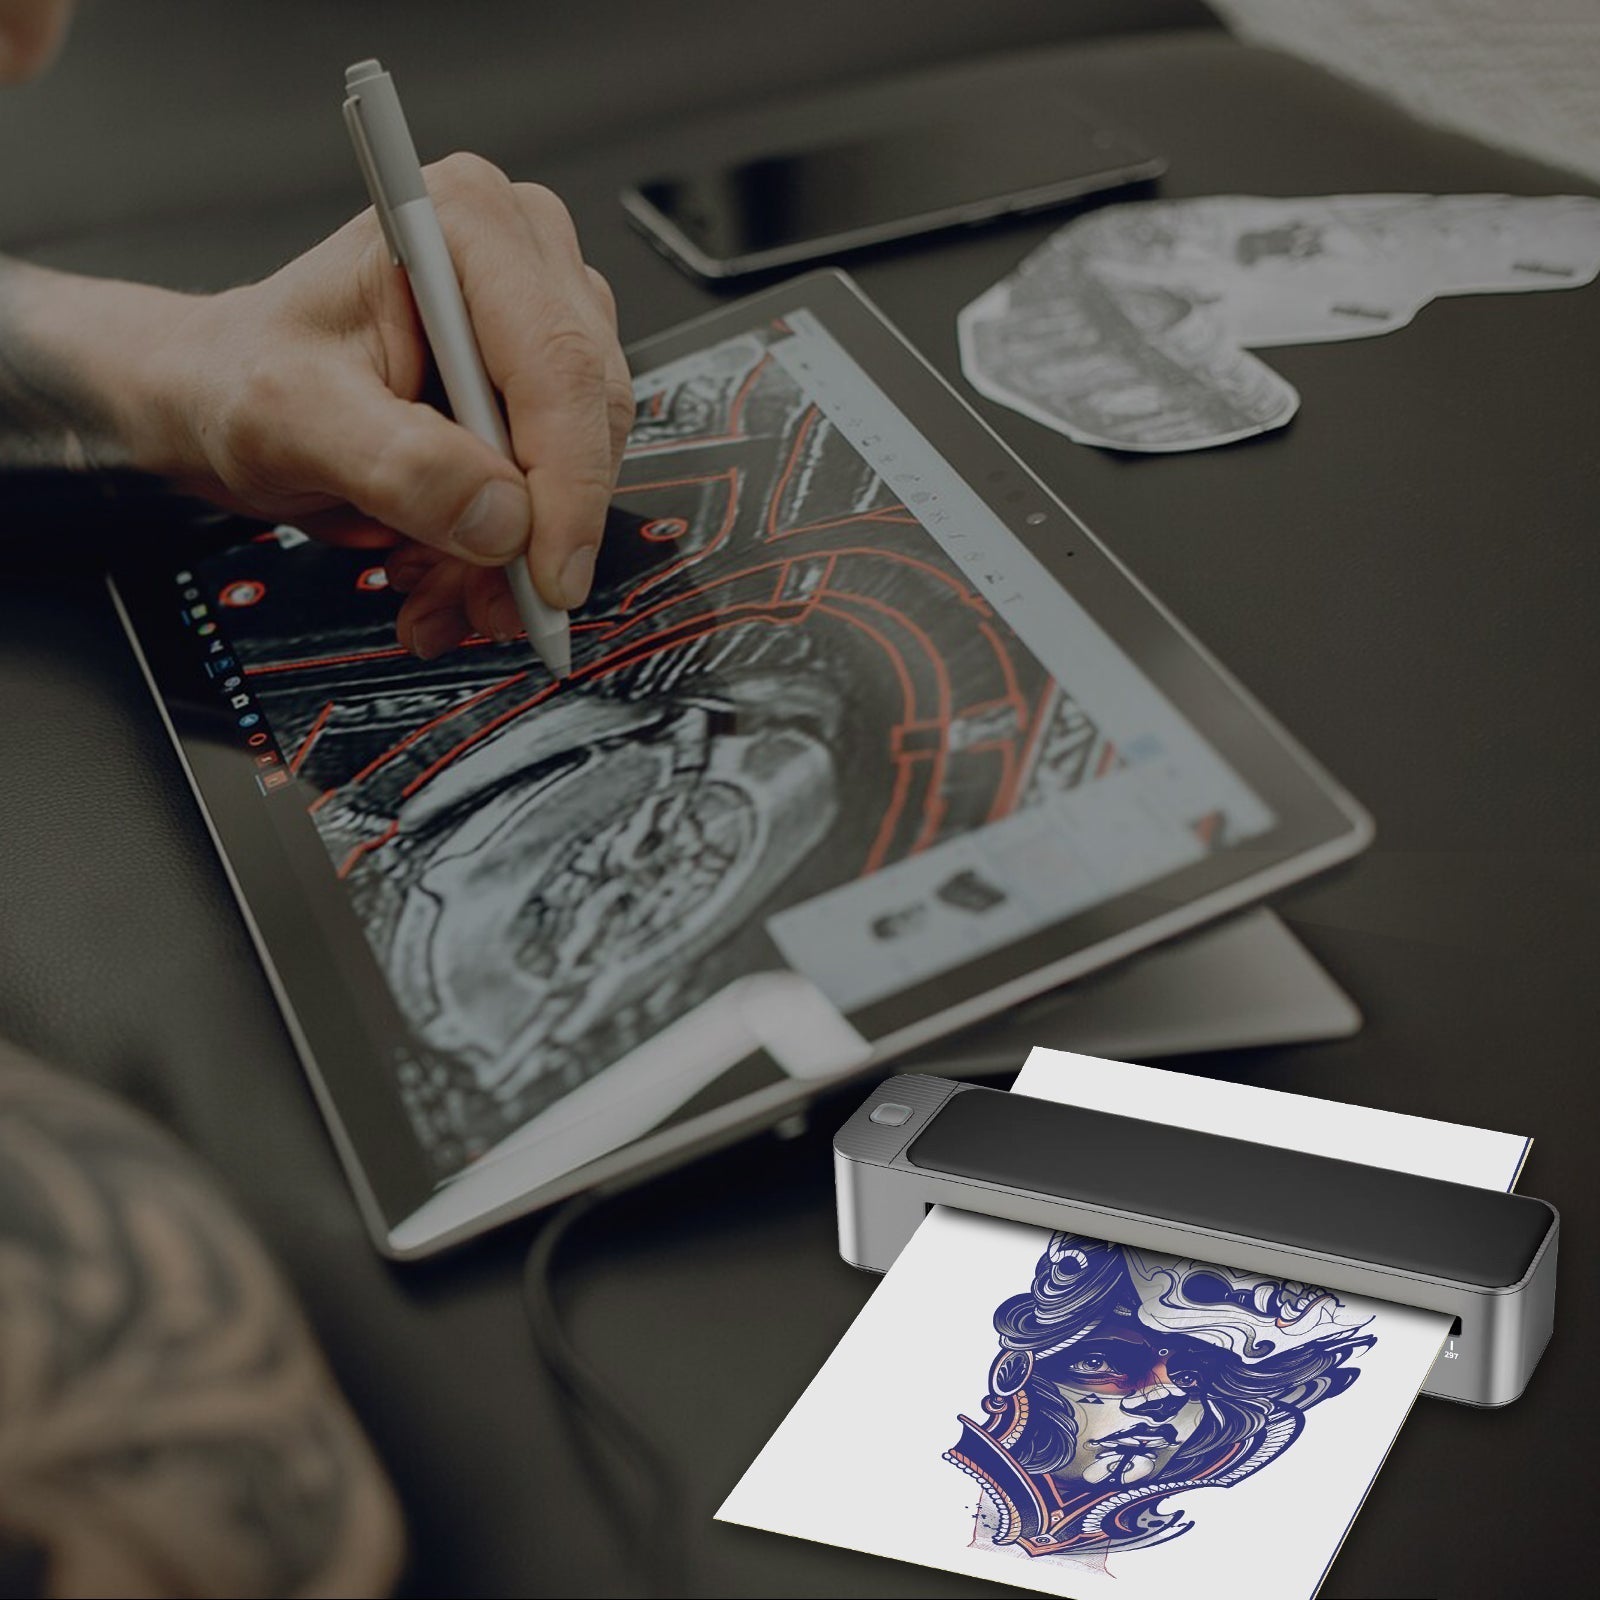
3. Using a Thermal Stencil Printer (XIRU XR3)
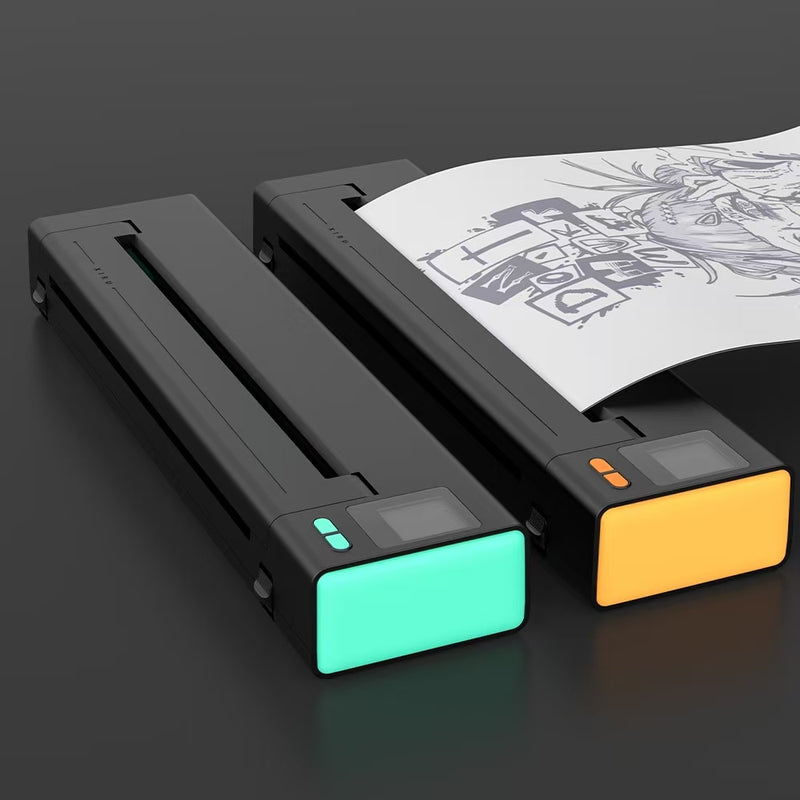
The XIRU XR3 is a compact, ink-free printer optimized for tattoo stencil printing. It offers:
- 203 dpi high-definition output with no smudges or jams.
- Smart LED display with real-time battery monitoring.
- Fast thermal printing at 30 mm/s and up to 100 stencil prints per charge.
- Bonus: Comes with tattoo app for design selection and 10 sheets of transfer paper.
Step-by-Step with the XR3:
- Remove the onion-skin layer and protective yellow layer from thermal paper.
- Load the carbon layer face-down and tracing side face-up into the printer.
- Connect via Bluetooth or USB to your PC/tablet and print the design.
- Carefully peel off tracing paper leaving the carbon stencil.
4. Manual Tracing via Transfer Paper

If you don’t have a thermal printer, manual tracing is a proven method:
- Print or sketch your tattoo design on paper.
- Place design securely over the stencil paper (use tape if needed).
- Trace over the lines firmly with a smooth ballpoint pen.
- Remove top sheet to reveal carbon construction beneath.
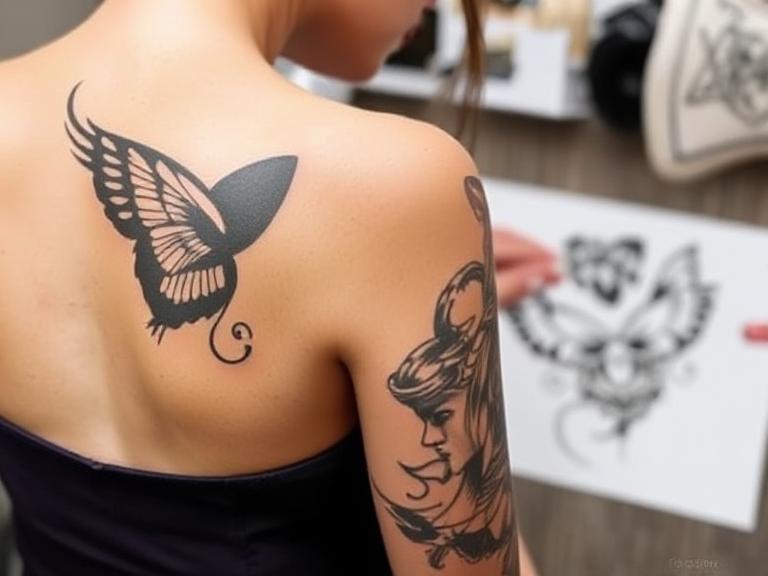
5. Applying the Stencil on Skin
- Clean and dry the targeted skin area.
- Spray light coating of stencil transfer fluid.
- Place carbon stencil onto skin design-side-down.
- Press firmly with a clean towel for 30–60 seconds.
- Peel back carefully—design should remain clearly on skin.
6. Best Practices & Troubleshooting Tips
- Use high-resolution designs for crisp linework with thermal printing.
- Ensure stencil paper layers are correctly oriented to avoid blank prints.
- For manual tracing: steady pressure and smooth pen strokes yield cleaner outcomes.
- If lines skip in thermal output, gently clean thermal heads or adjust paper feed.
- Always apply stencil to clean, non-oily skin for best adherence.
7. Summary Table
| Method | Tools Needed | Pros | Cons |
|---|---|---|---|
| Thermal Printer (e.g. XIRU XR3) | XR3 device, thermal stencil paper | Fast, precise, clean, app integration | Higher upfront cost |
| Manual Tracing | Printed design, transfer paper, pen | Low-cost, flexible, no electronics | Slower, less consistent, hand strain |