Hand-tracing a complex geometric mandala or a hyper-realistic portrait onto hectograph paper is an outdated, inefficient use of a professional tattoo artist's time. If you are still spending two hours tracing line art against a light box, you are bleeding profit margins. The industry has migrated firmly into the digital era, utilizing iPads and specialized hardware to instantly transfer designs. However, attempting to print my own tattoo stencil using a standard home printer and regular office ink is a massive safety hazard and a procedural failure. Regular printer ink is highly toxic, non-sterile, and will not adhere to stencil application gels.

From our experience supplying high-volume street shops and elite private studios at Inksoul, achieving a crisp, durable stencil requires purpose-built equipment. You must invest in either a thermal copier machine paired with spirit master paper, or a dedicated EcoTank inkjet printer modified exclusively with methyl violet tattoo stencil ink. We will dissect exactly how to configure these systems, the commercial realities of operating them, and how to avoid the catastrophic equipment clogs that plague inexperienced artists.
Quick Answer: Printing Your Stencil
To safely and effectively print my own tattoo stencil, you must abandon standard printer cartridges. You have two professional options:
- The Inkjet Method: Purchase a brand-new, unfilled Epson EcoTank printer. Fill the reservoirs strictly with specialized inkjet stencil ink (like Inkjet Stencils brand) instead of the factory ink. Print your design directly onto pacon tracing paper from your computer or tablet.
- The Thermal Copier Method: Print your design on standard paper using a normal office printer. Feed that printed design through a tattoo thermal copier machine alongside a sheet of thermal spirit transfer paper. The machine uses heat to burn the carbon from the spirit paper onto the transfer sheet.
Table of Contents
- What It Is: The Digital Stencil Revolution
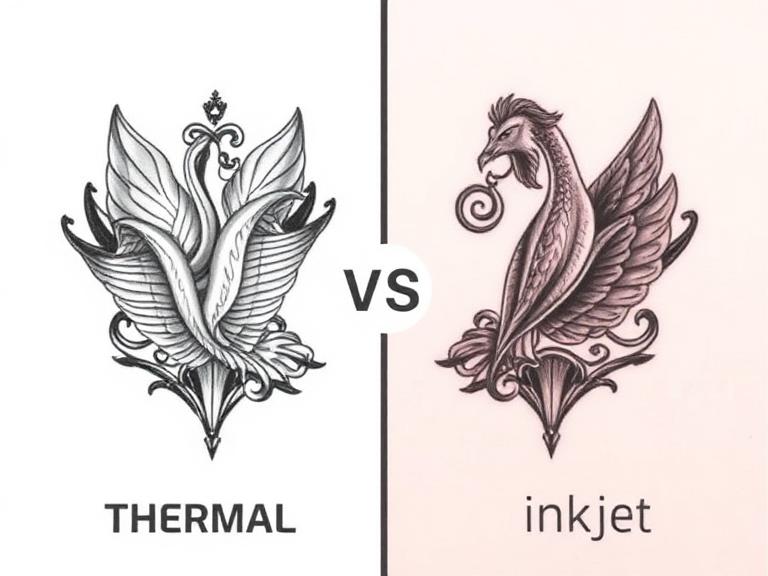
- How It Works: Thermal vs. Inkjet
- Commercial Benefits of Printing
- Limitations and Maintenance
- Who Should Use It
- Who Does Not Need It
- Common Mistakes to Avoid
- Buying Considerations
- Expert Recommendation
- Comparisons and Summary Tables
- Frequently Asked Questions
What It Is: The Digital Stencil Revolution
Printing a tattoo stencil is the process of bypassing manual tracing by sending a digital design file directly to a hardware output that generates a skin-ready transfer. For decades, artists relied on hectograph paper and heavy pressure with a ballpoint pen to push carbon onto a tracing sheet. Today, software like Procreate allows artists to size, mirror, and manipulate designs in seconds. The translation of that digital file into a physical, purple-carbon stencil requires specific chemical properties that bind to human skin when activated by a transfer gel.
How It Works: Thermal vs. Inkjet

There are two distinct hardware paths to print my own tattoo stencil. Understanding the mechanical differences is critical before you spend your capital.
The Thermal Copier Method: This is the traditional workhorse of street shops. You print your line art on standard printer paper. You then take a sheet of thermal transfer paper (which consists of a backing sheet, a carbon sheet, a protective tissue, and a transfer sheet). You run your printed paper and the thermal paper through the thermal copier simultaneously. The infrared heat from the machine reacts to the black toner on your printed paper, melting the purple carbon directly onto the transfer sheet.
The Inkjet Stencil Method: This represents the modern tier of stencil generation. You purchase a standard, blank EcoTank printer. Instead of filling the tanks with standard CMYK ink, you fill them with a specialized, skin-safe methyl violet stencil formulation. You load the printer with single-ply tracing paper (like Pacon). When you hit print on your iPad, the machine prints the design directly onto the tracing paper. This method allows for stunning, high-resolution stippling and shading maps that a thermal copier simply cannot reproduce.
Commercial Benefits of Printing
For commercial users, the Return on Investment (ROI) of a digital stencil setup is realized within the first month. The primary benefit is speed. A full-back piece or a complex geometric sleeve that would take four hours to hand-trace can be printed in forty seconds. This allows you to book an additional client per day. Furthermore, the accuracy is absolute. When executing symmetrical designs or portraits, human error in tracing leads to structural flaws in the final tattoo. Printing guarantees perfect proportions.
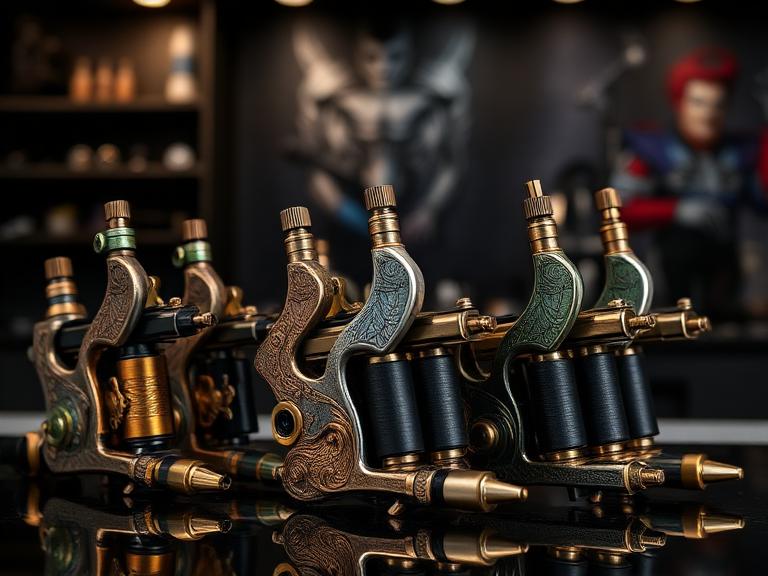
Once you have a flawless stencil applied under professional tattoo lighting equipment, your execution relies entirely on your hardware. Transitioning to professional tattoo machines ensures that the perfect stencil translates into perfect line weight on the skin.
Limitations and Maintenance
We must apply practical judgment: printing stencils introduces hardware maintenance liabilities. Thermal copiers are notorious for jamming, especially if the carrier sleeve is damaged. They also struggle to reproduce soft shading; they only recognize hard contrast, meaning drop shadows often print as a solid, illegible block of purple carbon.
Inkjet setups have a severe limitation regarding fluid dynamics. Stencil ink is highly concentrated and prone to drying. If you do not print at least one test page every 48 hours, the printhead nozzles will clog. Fixing a clogged EcoTank printhead requires messy flush kits and massive amounts of wasted ink. If you are not a daily high-volume artist, an inkjet setup will become a maintenance nightmare.
Who Should Use It
We strongly recommend an inkjet stencil printer for realism artists, portrait specialists, and geometric dot-work practitioners who require distinct shading gradients and perfectly uniform circles. The ability to print varying opacities of purple allows the artist to map out light and shadow values directly on the skin. We recommend thermal copiers for high-volume street shops, traditional artists, and apprentices who need reliable, hard-line stencils without the daily maintenance requirements of liquid ink.
Who Does Not Need It
If you are an old-school traditional artist who prides yourself on custom freehand sharpie work, or if you only execute one or two small tattoos a week, dropping $500 on an EcoTank and specialized ink is a waste of capital. Hand-tracing a simple script or a traditional rose takes ten minutes and requires zero hardware maintenance.
Common Mistakes to Avoid
The most catastrophic mistake when attempting to print my own tattoo stencil is pouring stencil ink into an old, used home printer. The residual standard ink will mix with the methyl violet, creating a toxic, non-transferable sludge that ruins the printhead and poses an infection risk to your client. You must use a brand-new, virgin printer.
Another profound error is poor skin preparation. An impeccably printed inkjet stencil will instantly blur into an illegible purple stain if you apply too much transfer gel (like Stencil Stuff). Inkjet stencils require the skin to be slightly tacky, not wet. You must shave the area, strip the skin oils with 99% isopropyl alcohol, apply a microscopic layer of transfer gel, and allow the stencil to dry for a full ten minutes before pulling your first line. Ensure you are using high-quality tattoo ink for beginners and experts alike to ensure the permanent ink sits cleanly alongside the stencil lines.
Buying Considerations
When selecting your setup, calculate your cost per print. Thermal paper costs roughly $0.50 to $0.80 per sheet, plus the cost of printing the initial paper copy. Inkjet setups require a steep upfront cost (Printer: $250, Stencil Ink: $150), but a single bottle of ink yields over 3,000 prints on cheap pacon paper, driving the cost per print down to pennies. Ensure you understand the mechanics of your needles before executing; reviewing a tattoo needle sizes guide is crucial to match your line weight to your printed stencil thickness.
Comparisons and Summary Tables
| Method | Required Hardware | Consumables Needed | Best Suited For |
|---|---|---|---|
| Thermal Copier | Tattoo Thermal Machine, Standard Office Printer | Spirit Thermal Paper, Standard Printer Ink, Standard Paper | Traditional lines, bold script, low-maintenance setups. |
| Inkjet Stencil | New Epson EcoTank (2750/3150 models) | Methyl Violet Stencil Ink, Pacon Tracing Paper | Realism, dot-work, high-volume custom studios. |
| Feature | Inkjet EcoTank Setup | Thermal Copier Setup |
|---|---|---|
| Shading / Gradients | Excellent. Prints precise stippling and light tones. | Poor. Only recognizes hard black-and-white contrast. |
| Maintenance Level | High. Must print daily to prevent printhead clogs. | Low. Wipe down rollers, replace carrier sheets occasionally. |
| Upfront Cost | High ($400+ for printer and ink bottle) | Moderate ($150 - $300 for machine) |
| Cost Per Stencil | Extremely Low (~$0.05 per sheet) | Moderate (~$0.80 per sheet) |
| Pros (Benefits) | Cons (Limitations) |
|---|---|
| Saves hours of manual tracing time, increasing hourly profit. | Inkjet nozzles require constant vigilance to prevent drying. |
| Guarantees perfect symmetry and structural proportions. | Thermal machines frequently jam if fed unevenly. |
| Allows for rapid resizing directly from an iPad. | Requires upfront capital investment in specialized hardware. |
| Inkjet method produces photographic-quality stencil maps. | Using standard printer ink by mistake poses severe health risks. |
Expert Recommendation
In our professional assessment, if you are tattooing more than three days a week, transitioning to an EcoTank inkjet system is mandatory for scaling your business. The ability to print shading gradients revolutionizes how you approach realism. However, a perfect stencil is useless without a flawless machine to execute the lines. We recommend pairing your precise inkjet stencils with advanced, rotary pen technology that offers adjustable strokes to match the intricacy of your design.

Dragonhawk Wireless Tattoo Pen Machine 2.4-4.2MM Strokes Length | Mast Fold 2 Pro
Once you print my own tattoo stencil with absolute precision, you need a machine that can execute delicate stippling and bold outlines without switching setups. The Mast Fold 2 Pro delivers uncompromising adaptability.
Unleash your artistry with the Dragonhawk Mast Fold 2 Pro. A wireless tattoo pen machine with an adjustable 2.4-4.2mm stroke for precision inking. Featuring exceptional wireless tattoo gun battery life, it ensures you remain focused on your art, not your power supply. Shop now for an unparalleled tattooing experience.
Frequently Asked Questions
Can I use regular printer ink for a tattoo stencil?
Absolutely not. Standard inkjet or laser toner is highly toxic, not formulated for dermal contact, and carries severe risks of contact dermatitis and infection. Furthermore, standard ink will not react with stencil application gels, meaning it will instantly wipe off the skin the moment you wipe away excess tattoo ink.
Why does my inkjet stencil blur when I apply it to the skin?
Inkjet stencils require significantly less transfer gel than thermal stencils. If you apply a thick layer of Stencil Stuff, the liquid methyl violet ink will bleed and blowout across the skin. Apply a microscopic layer of gel, wait until the skin is merely tacky, press the paper firmly without shifting, and let it dry completely for 10-15 minutes before tattooing.
Do all needles fit tattoo machines used for inkjet stencils?
The stencil method does not dictate your needle choice. However, modern rotary pens generally utilize universal membrane cartridges. It is crucial to understand do all needles fit tattoo machines before attempting to line a highly detailed inkjet stencil. We recommend consulting a guide on rs vs rl tattoo needles to match your grouping to the printed line weight.
Authoritative Industry References
To ensure occupational safety and adherence to health standards regarding dermal contact and cross-contamination, we base our protocols on the following authorities:
- Occupational Safety and Health Administration (OSHA) - Bloodborne Pathogens standard (29 CFR 1910.1030) governing the safe handling of skin-contact equipment and cross-contamination prevention in professional environments.
- U.S. Food and Drug Administration (FDA) - Regulatory guidance on the safety, chemical composition, and adverse reactions associated with tattoo inks and dermal application fluids.
- American Academy of Dermatology (AAD) - Clinical guidelines on preventing contact dermatitis, allergic reactions, and ensuring proper skin preparation prior to permanent modification procedures.