
Every professional tattoo artist knows that a flawless tattoo begins long before the needle ever touches the skin. It starts with the stencil. If your stencil bleeds, shifts, or lacks intricate detail, your final artwork will inevitably suffer. The days of painstakingly hand-tracing designs over carbon paper for hours are effectively over. To consistently deliver high-tier results, you must learn how to seamlessly create tattoo templates using thermal printer technology. From our experience in the studio, integrating a reliable thermal stencil printer into your workflow is the single most impactful upgrade you can make to your daily operations.

We recommend discarding outdated tracing methods and embracing digital precision. When you create tattoo templates using thermal printer setups, you completely eliminate human error from the transfer process. You ensure that every single dot of shading, every crisp linework detail, and every geometric angle translates perfectly from your tablet screen to your client’s skin. In this authoritative guide, we will walk you through the exact six steps required to master this process, highlighting the industry-leading capabilities of the INKSOUL T08FS Wireless Tattoo Transfer Stencil Printer.
Table of Contents
- 1. Why You Must Create Tattoo Templates Using Thermal Printer
- 2. Hardware Spotlight: The INKSOUL T08FS
- 3. 6 Steps to Create Tattoo Templates Using Thermal Printer
- 4. Aligning Your Stencil with Machine Setup
- 5. Troubleshooting Common Stencil Issues
- 6. Summary Table: Process and Hardware Setup
- 7. Frequently Asked Questions (FAQs)
- 8. References & Safety Standards
Why You Must Create Tattoo Templates Using Thermal Printer
The foundation of a great tattoo is an uncompromising stencil. When you hand-trace, natural hand fatigue, slight slips of the pen, and varying pressure can lead to lost details. When you create tattoo templates using thermal printer systems, the machine utilizes localized heat to melt the carbon transfer dye onto the stencil paper with perfect uniform pressure. This creates a bold, deep purple or black line that resists wiping and smudging during the long hours of the tattoo session.
Furthermore, time is money in the tattoo industry. Spending an hour tracing a complex realistic portrait is an hour you are not actively tattooing and generating revenue. By learning to seamlessly create tattoo templates using thermal printer technology, you condense a one-hour chore into a 15-second print job. This leaves you with more energy to focus on the actual application of the ink. You also gain the ability to instantly resize the design on your digital device if the client wants the piece slightly larger or smaller, rather than having to completely redraw the piece from scratch.
Hardware Spotlight: The INKSOUL T08FS
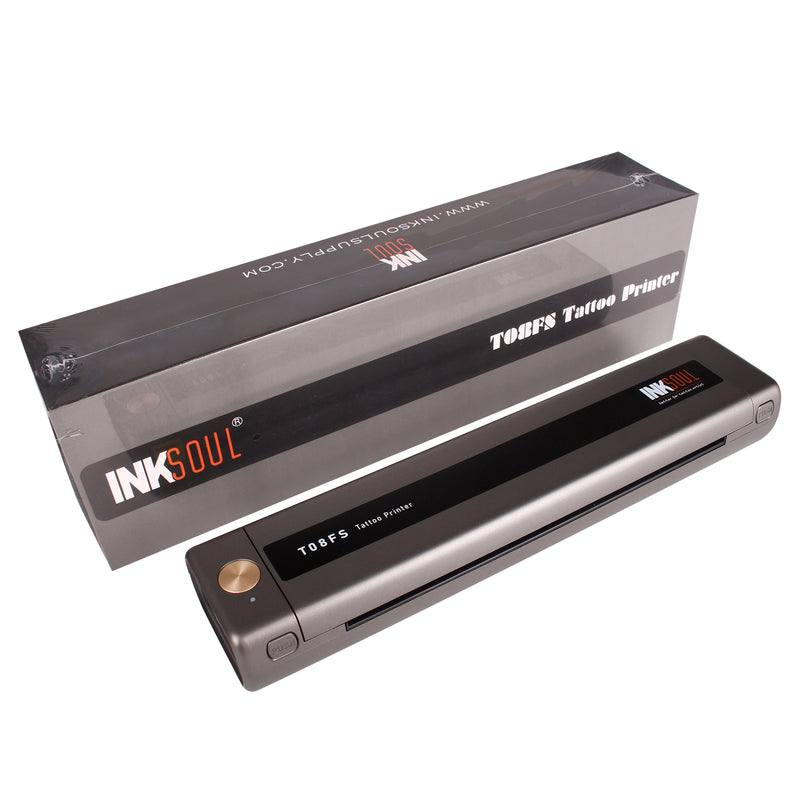
Not all thermal printers are built to handle the rigorous demands of a professional tattoo studio. From our experience, many generic thermal printers fail to capture the subtle gradients required for modern tattooing. This is where the INKSOUL T08FS Wireless Tattoo Transfer Stencil Printer dramatically changes the landscape. It is specifically engineered to print shadows, giving you an unparalleled map for black and grey realism.
The INKSOUL T08FS boasts impressive specifications designed for the modern artist. Weighing only 0.75 kilograms with dimensions of 310X68X41 mm, it is incredibly portable—perfect for guest spots and conventions. It utilizes a powerful 1200mAh battery and advanced Bluetooth connectivity for seamless integration with mobile phones and tablets, while still offering a reliable USB cable connection for PC users. The advanced thermal printing technology operates at a resolution of 203 dpi, ensuring crisp lines. With a maximum printing speed of 13-15 mm/s, you get your stencil fast.
Crucially, the INKSOUL T08FS supports printing both shader images and precise line images across multiple paper sizes. Its printing width range is up to 216 mm, and the printing length can scale from 20mm up to 400mm. The paper size support is highly versatile, accommodating A4 (8.3in x 11.7in), LTR (8.8in x 11in), Legal (8.5in x 14in), and extended LTR+ (8.5in x 16.5in). This means whether you are doing a small minimalist piece or a massive forearm wrap, this hardware has you covered.
6 Steps to Create Tattoo Templates Using Thermal Printer
To achieve the perfect stencil transfer, you must follow a disciplined, systematic approach. Here are the definitive six steps to create tattoo templates using thermal printer hardware effectively.
Step 1: Finalize Your Digital Design
Your stencil is only as good as the digital file you feed into the printer. Begin by finalizing your artwork on a program like Procreate or Photoshop. We recommend increasing the contrast of your image significantly. If you are doing realism, utilize the shadow-printing capabilities of the INKSOUL T08FS by ensuring your mid-tones are clearly defined. Flatten the image and convert it to a high-contrast black and white file to ensure the thermal heads read the data perfectly.
Step 2: Select the Correct Thermal Paper

A high-quality printer requires high-quality paper. You must use dedicated tattoo thermal transfer paper (typically A4 size). This paper consists of four layers: the white master sheet, the protective tissue, the purple carbon sheet, and the yellow backing sheet. Before you create tattoo templates using thermal printer devices, you must remove the protective tissue layer. If you leave it in, it will jam the printer and ruin the carbon transfer.
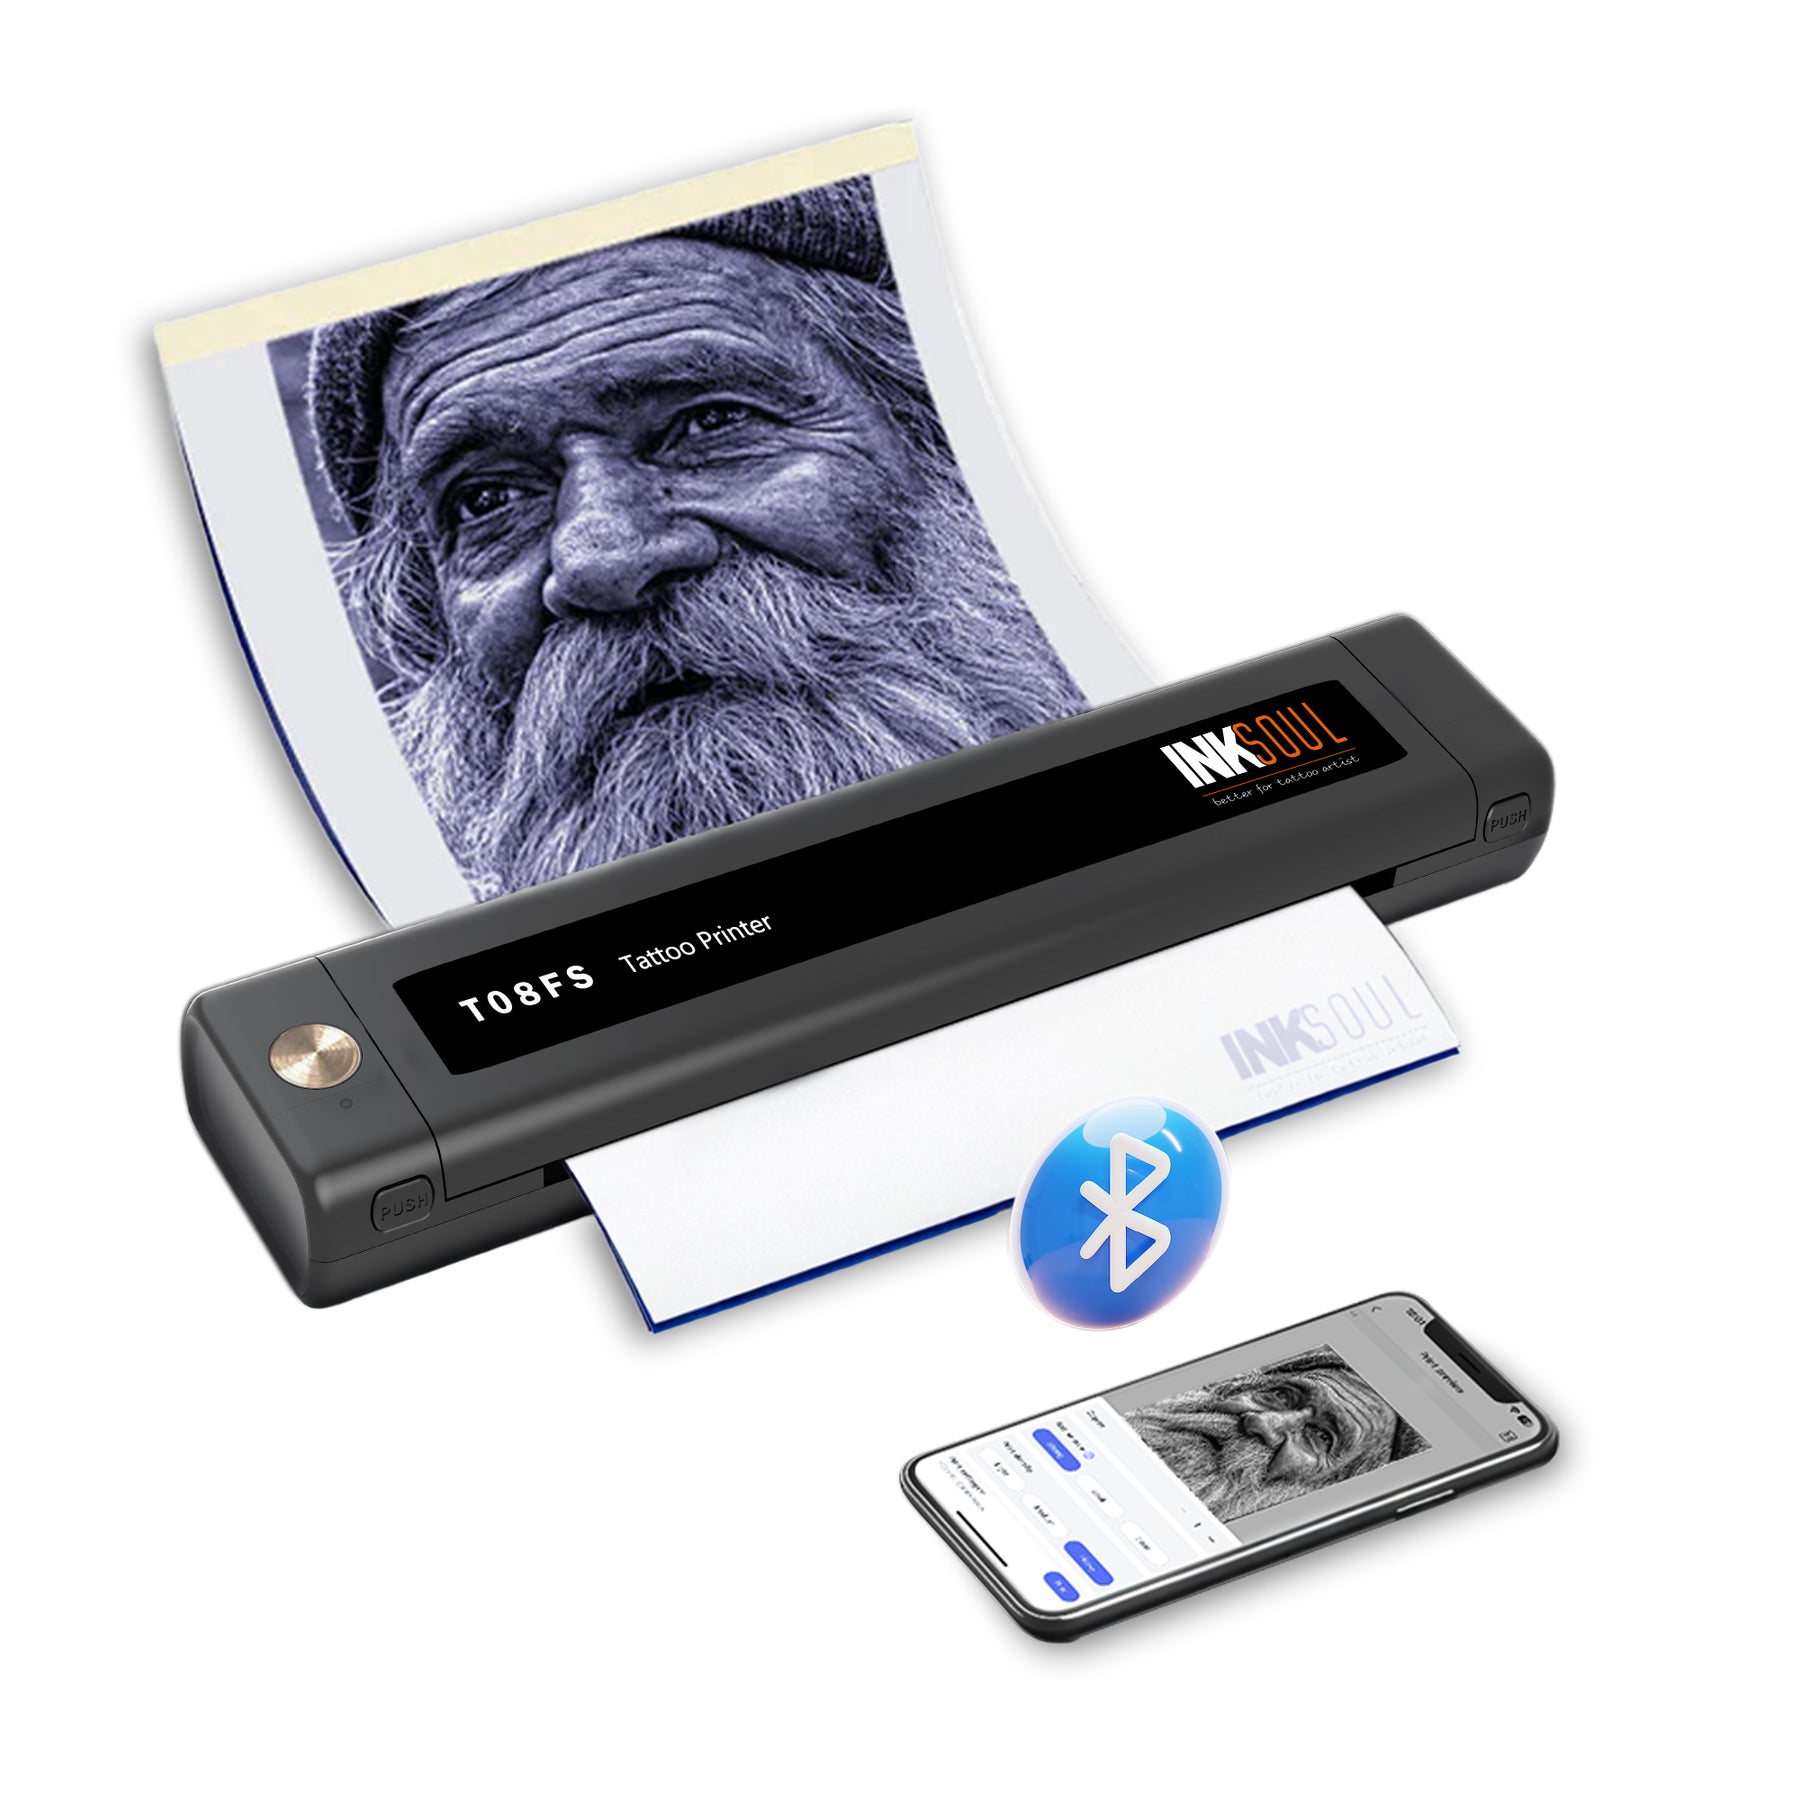
Step 3: Establish Your Connection
Power on your INKSOUL T08FS printer. If you are using an iPad or smartphone, pair the device via Bluetooth using the dedicated printing application. For a stable, stationary studio setup using a PC, connect the device via the included USB cable. Ensure your software drivers are up to date to prevent communication errors during the print cycle.
Step 4: Configure Print Settings
Before hitting print, dive into your application settings. Select whether you want a standard line print or a shadow print. The INKSOUL T08FS allows you to adjust the density of the burn. For highly detailed, fine-line work, we recommend a medium density to prevent the lines from blowing out and becoming too thick. For bold traditional tattoos, turn the density up to ensure a dark, heavy stencil map.
Step 5: Execute the Thermal Transfer
Insert the thermal paper into the feeder of the printer. Ensure the yellow backing is facing down and the white master sheet is facing up. Gently feed the edge until the printer grips the paper. Press print on your device. The INKSOUL T08FS will pull the paper through at a smooth 13-15 mm/s, using its 203 dpi thermal heads to melt the carbon exactly where your design dictates. Do not pull or force the paper; let the machine do the work.
Step 6: Prep the Skin and Apply
Once printed, carefully cut out your stencil, leaving a small border. The skin preparation is paramount. Shave the area thoroughly, even if hair is not visibly dense. Cleanse the skin with green soap, followed by a high-percentage rubbing alcohol to strip away all natural skin oils. Apply an even, thin layer of your preferred stencil transfer gel. Wait until the gel is tacky—not wet. Press the stencil onto the skin firmly, hold for five seconds without shifting, and peel it away. Let the stencil dry completely for 10-15 minutes before you begin tattooing.
Aligning Your Stencil with Machine Setup
Once you successfully create tattoo templates using thermal printer technology, you must match your hardware setup to the intricacies of the stencil you just produced. A highly detailed, fine-line stencil requires an entirely different approach than a bold, traditional stencil.
If your stencil relies on heavy, thick lines, you need to ensure you are utilizing hardware capable of pushing large needle groupings. We recommend reviewing the top tattoo machine brands to find a machine with a longer stroke (typically 4.0mm or higher) to pack that black ink effortlessly. Professional artists rely heavily on professional tattoo machines to interpret their stencils accurately without causing excessive skin trauma.
Furthermore, needle selection is critical when interpreting your thermal print. If your stencil has both shading guidelines and crisp outlines, you need to understand the nuances detailed in an expert tattoo needle sizes guide. Knowing the rs vs rl tattoo needles (Round Shader versus Round Liner) differences will dictate how well you follow the stencil map. You must also verify compatibility before setting up your tray; checking do all needles fit tattoo machines will save you from hardware malfunctions mid-session.
Ensure your studio space is also optimized for the actual tattooing process. Having proper, bright illumination from a reputable Wholesale Light Fixtures Supplier ensures you can clearly see the purple stencil ink against the client's skin tone without casting unwanted shadows over your workspace. Additionally, you can source all your premium aftercare and barrier films from a reliable Tattoo Supply distributor to keep the entire process sanitary and professional.
Troubleshooting Common Stencil Issues
Even when you create tattoo templates using thermal printer setups, occasional issues can arise. From our experience, the most common problem is a stencil that prints too faintly. This is almost always caused by either a low battery on your wireless printer or a digital design that lacks sufficient contrast. If you are using the INKSOUL T08FS, ensure the 1200mAh battery is fully charged before a long day of consultations.
If your stencil is smudging violently when applied to the skin, you are likely using too much transfer gel or failing to let the skin dry properly after alcohol preparation. The skin must be completely devoid of oils. Only a microscopic layer of transfer solution is needed to activate the carbon.
Summary Table: Process and Hardware Setup
| Phase | Action Required | INKSOUL T08FS Specification |
|---|---|---|
| Design Prep | Finalize digital art, maximize contrast | Supports both Shader and Line image rendering |
| Hardware Setup | Connect device, load thermal paper | Bluetooth / USB connectivity; 1200mAh Battery |
| Printing Specs | Select density and hit print | 203 dpi resolution; 13-15 mm/s speed |
| Paper Sizing | Cut paper to accommodate the design size | Supports A4, LTR, Legal, and LTR+ formats |
| Application | Shave, clean, apply gel, and transfer | Creates deep, smudge-resistant carbon transfers |
Frequently Asked Questions (FAQs)
References & Safety Standards
Maintaining high standards of safety, hygiene, and equipment proficiency is mandatory for professional tattoo artists. For further reading on skin preparation, bloodborne pathogens, and dermal safety, we recommend reviewing the following authoritative sources:

